Tape is HOT in the scrapbooking arena. But let’s be honest, it’s been a bit vanilla for a while… the options were fairly limited…. still a fun look, but limited.
Until Washi tape hit the scene… now you can find a wide aray of designer tapes to adorn your layouts and paper crafts.
But, let’s say you’re trying to use up your stash or can’t find tape that fits your a particular project, well here’s a fun solution via Aesthetic Nest.
DIY Washi Tape
images by Aesthetic Nest
Here are her directions in a nutshell…
You’ll need:
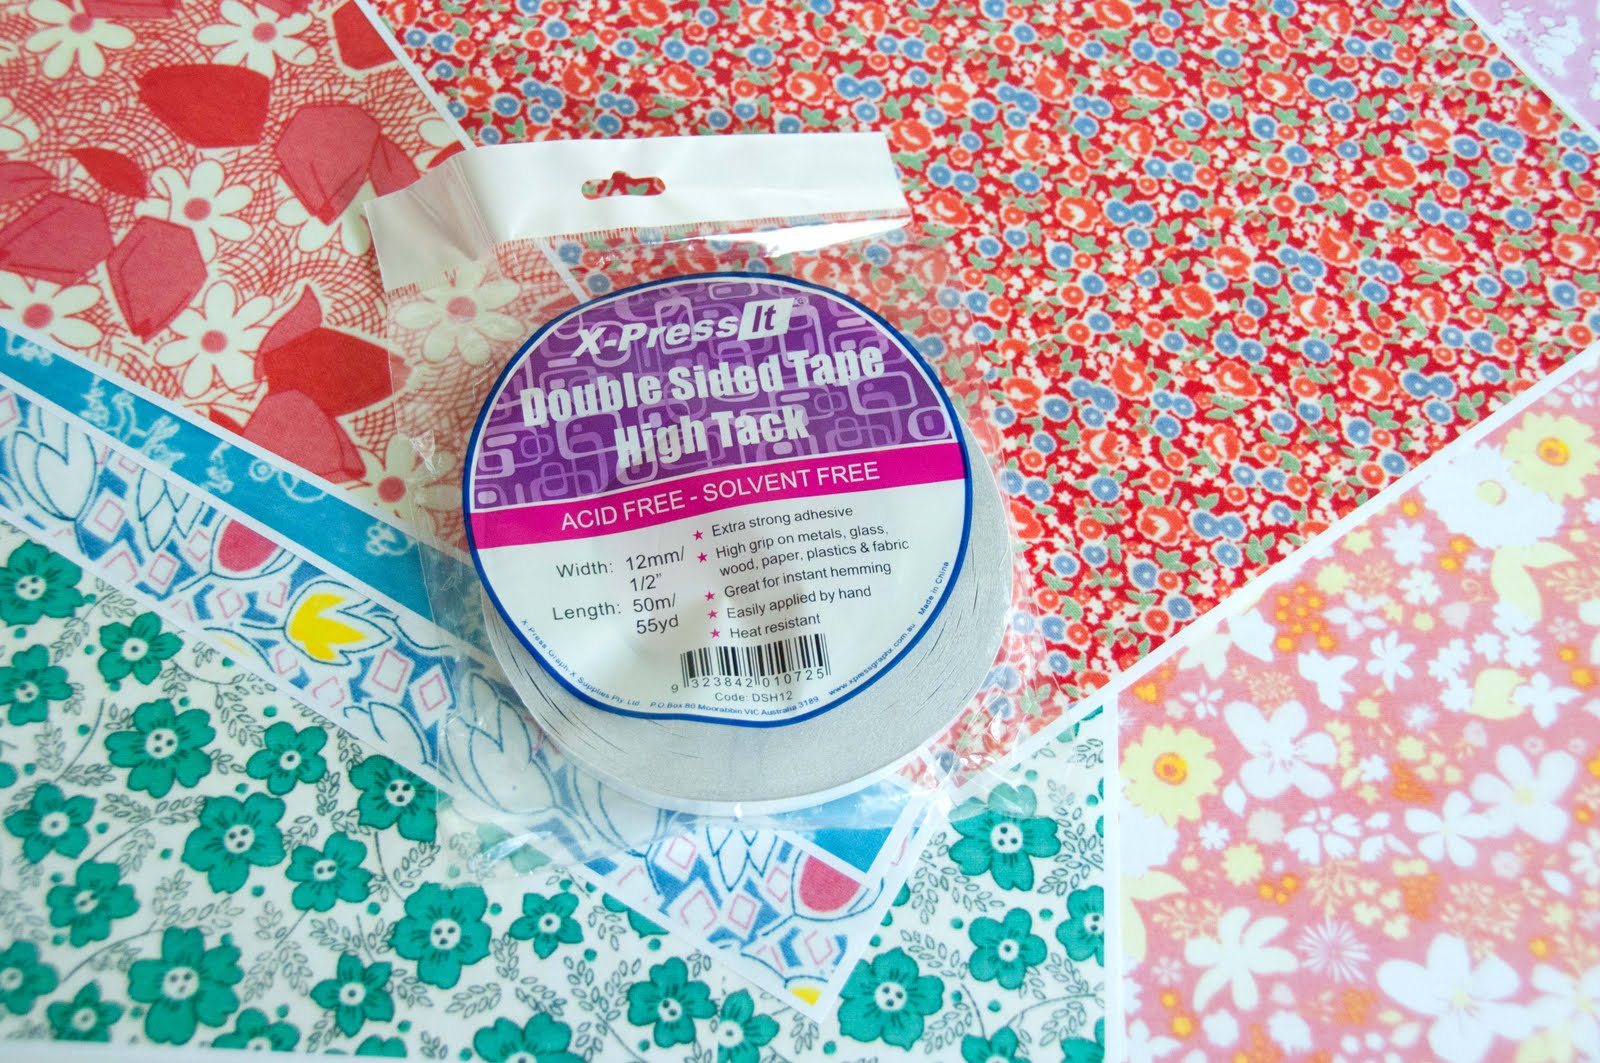
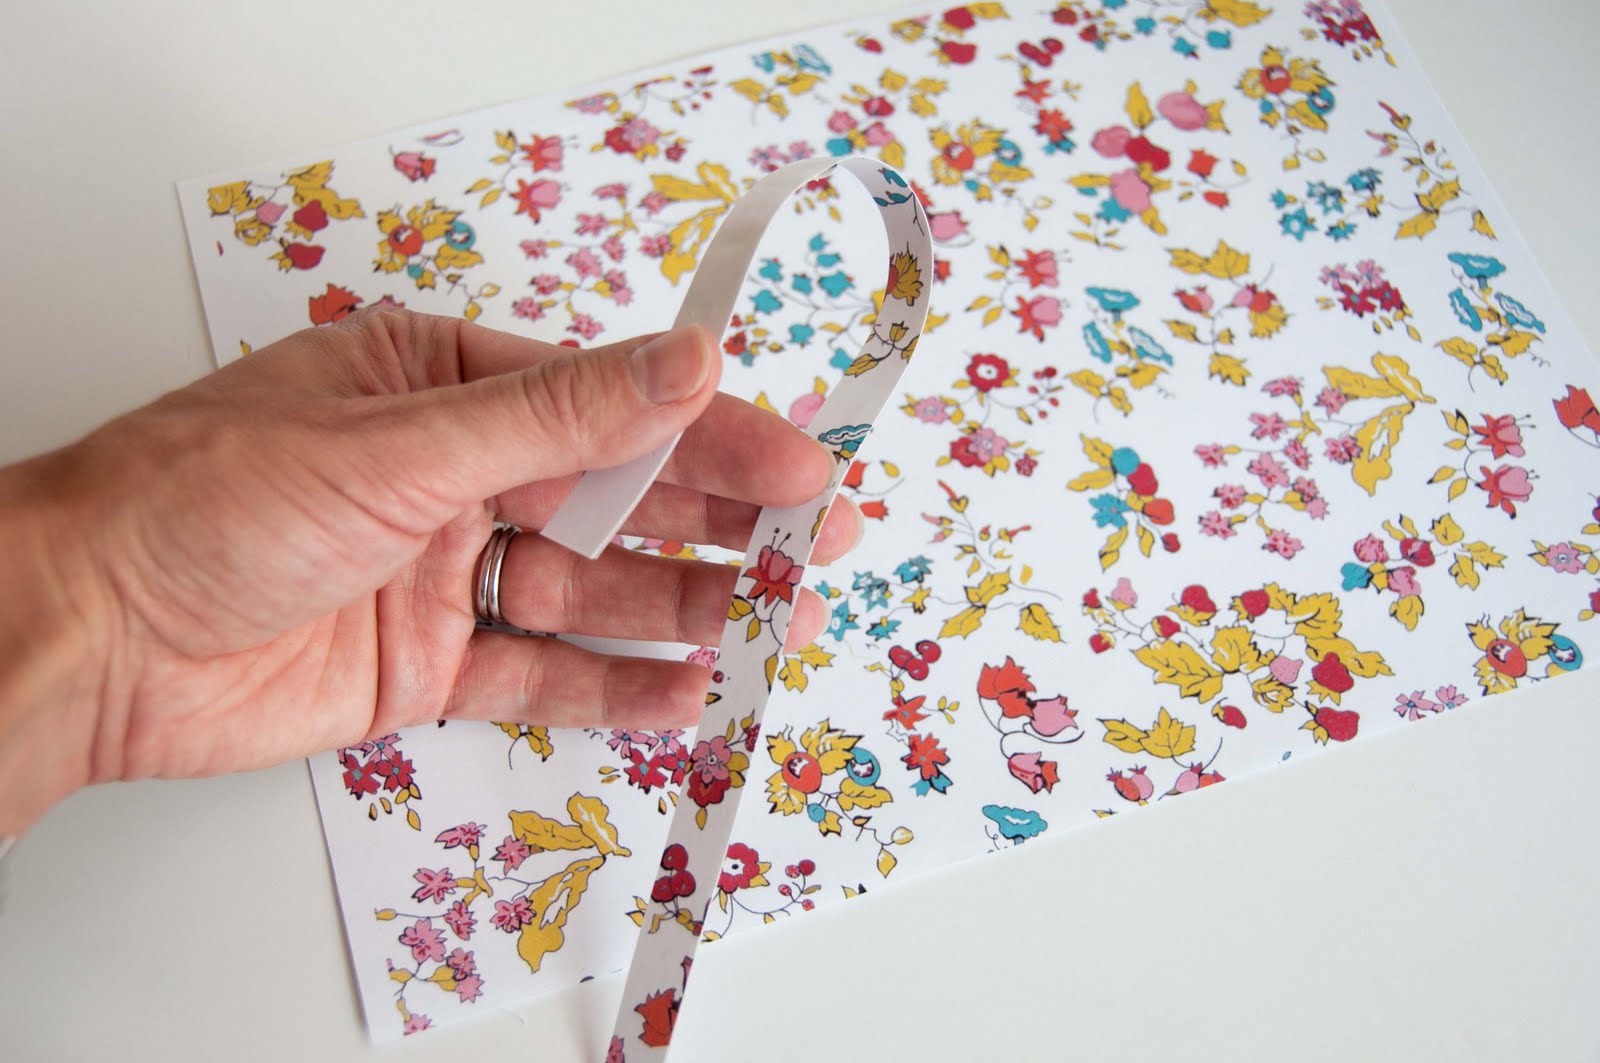
- Scrapbooking paper or printed digiscrap paper (AN scanned in some fabric to coordinate w/ her daughter’s party!)
- Double-sided tape (AN recommends X-Press It Double Sided Tissue Tape, which is acid-free… BONUS! - I’m a Scotch girl myself, they have this 1/2″ tape & this 3/4 tape. Duck also has this one, all of which are acid-free as well.)
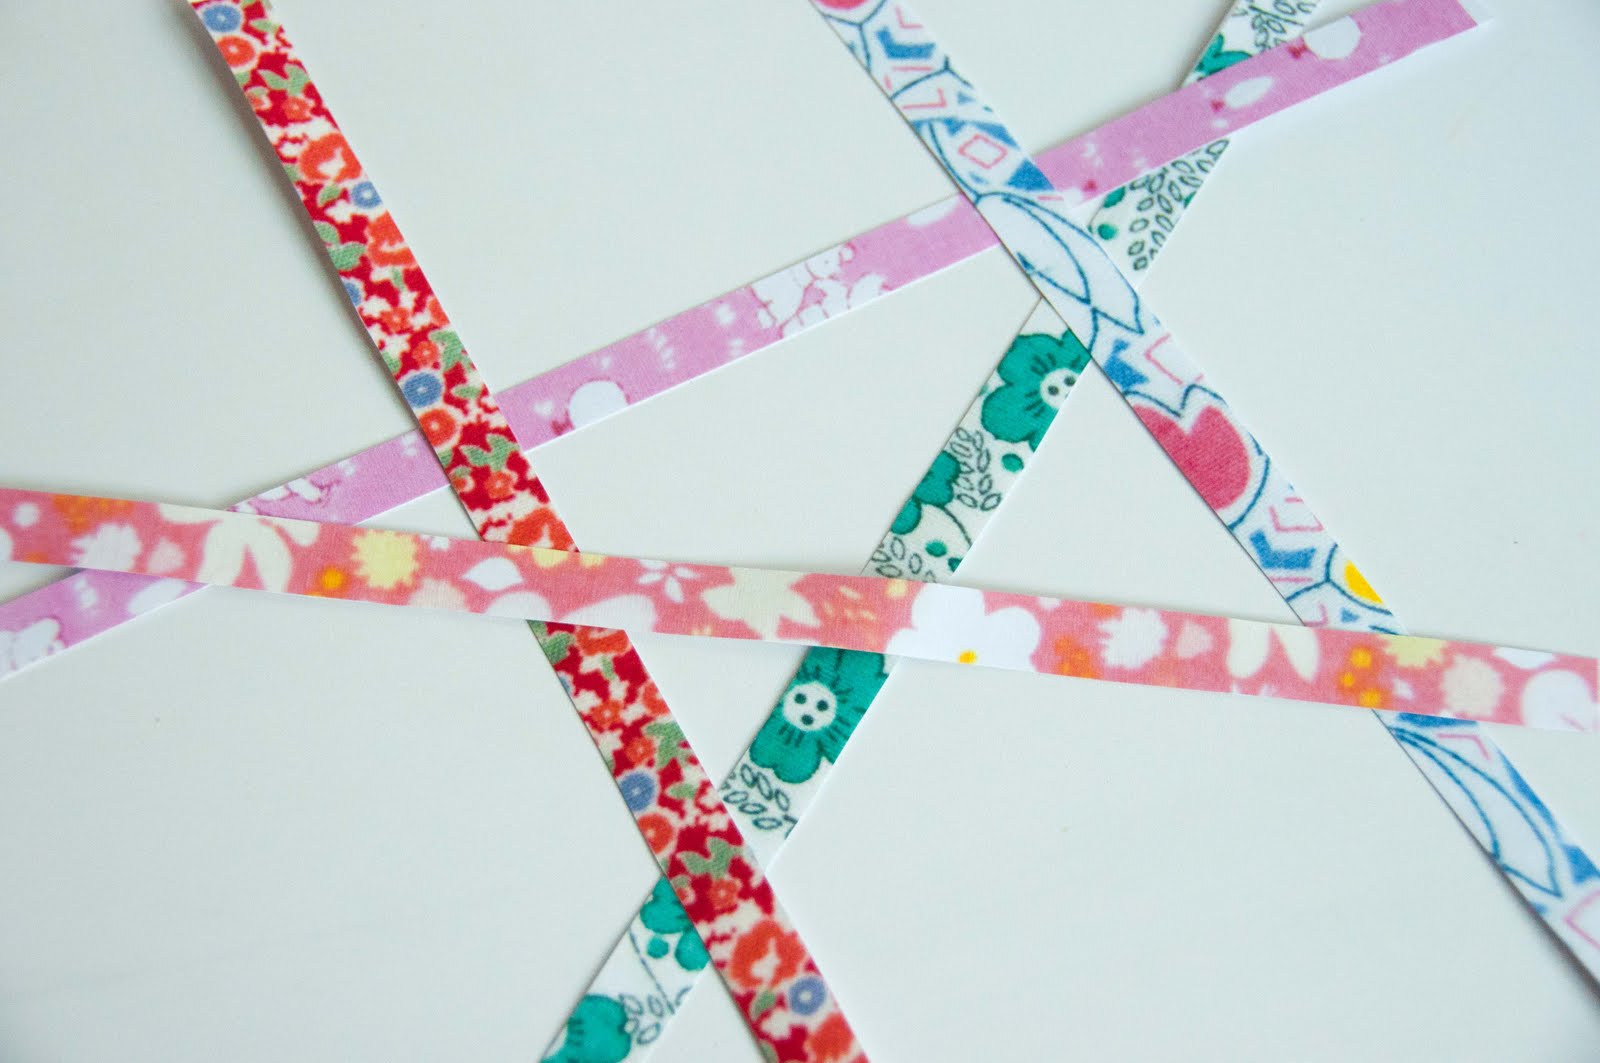
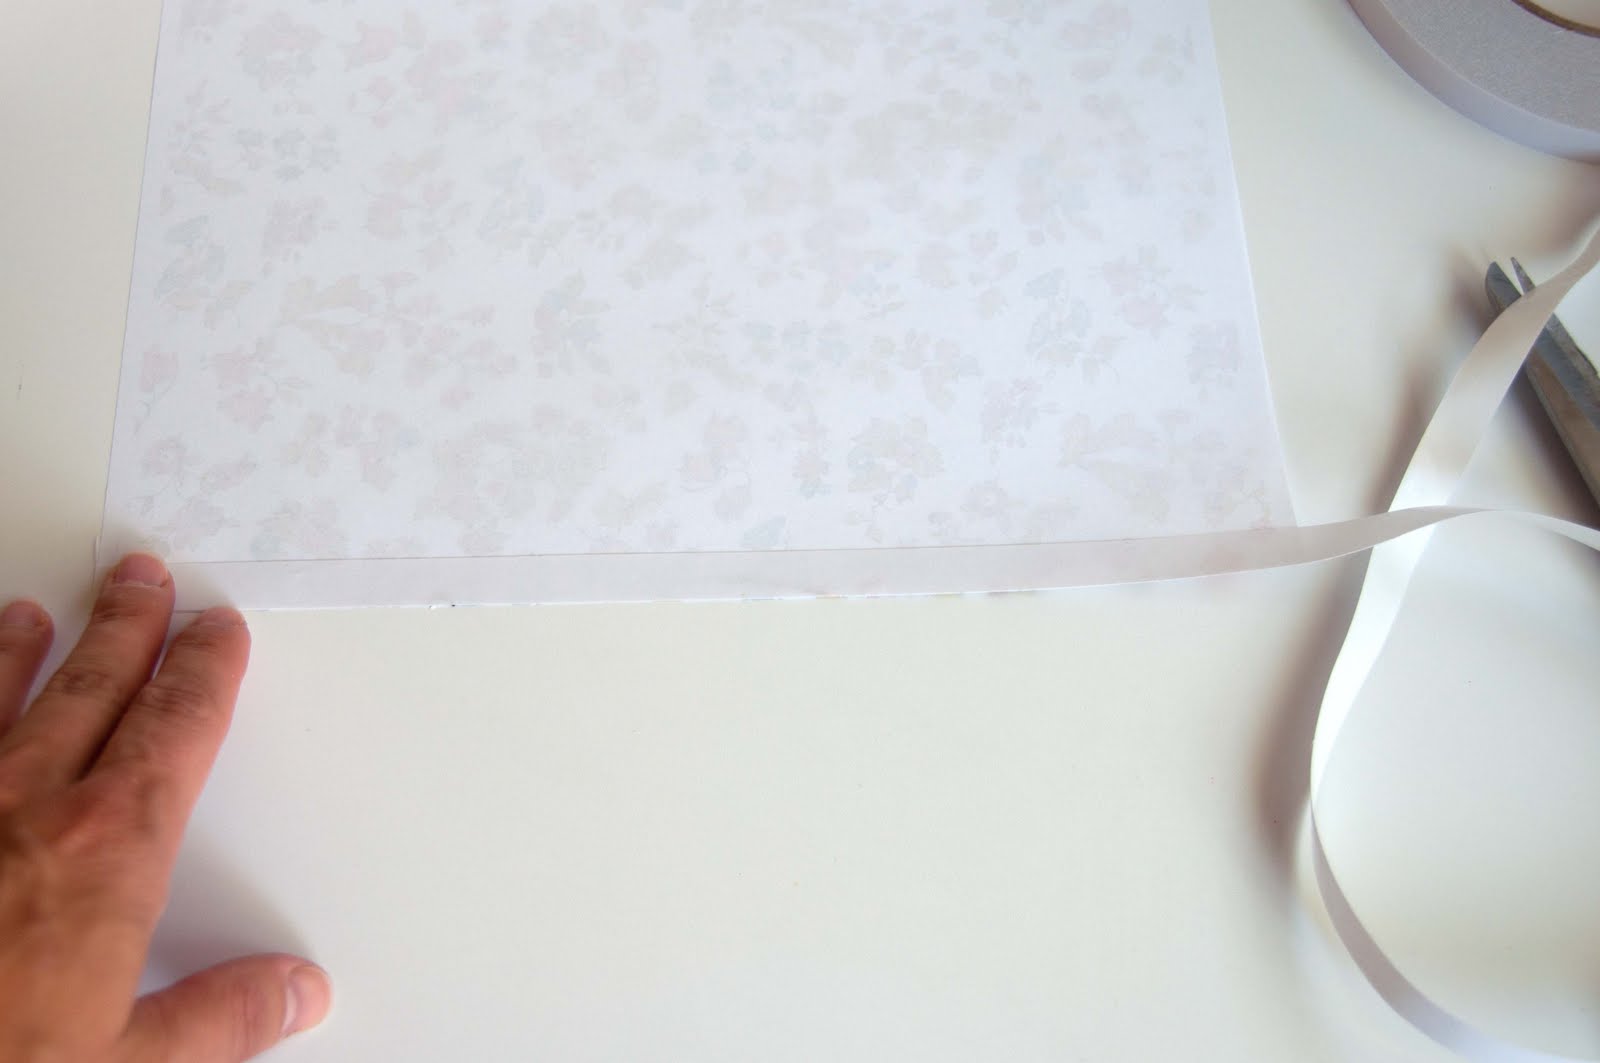
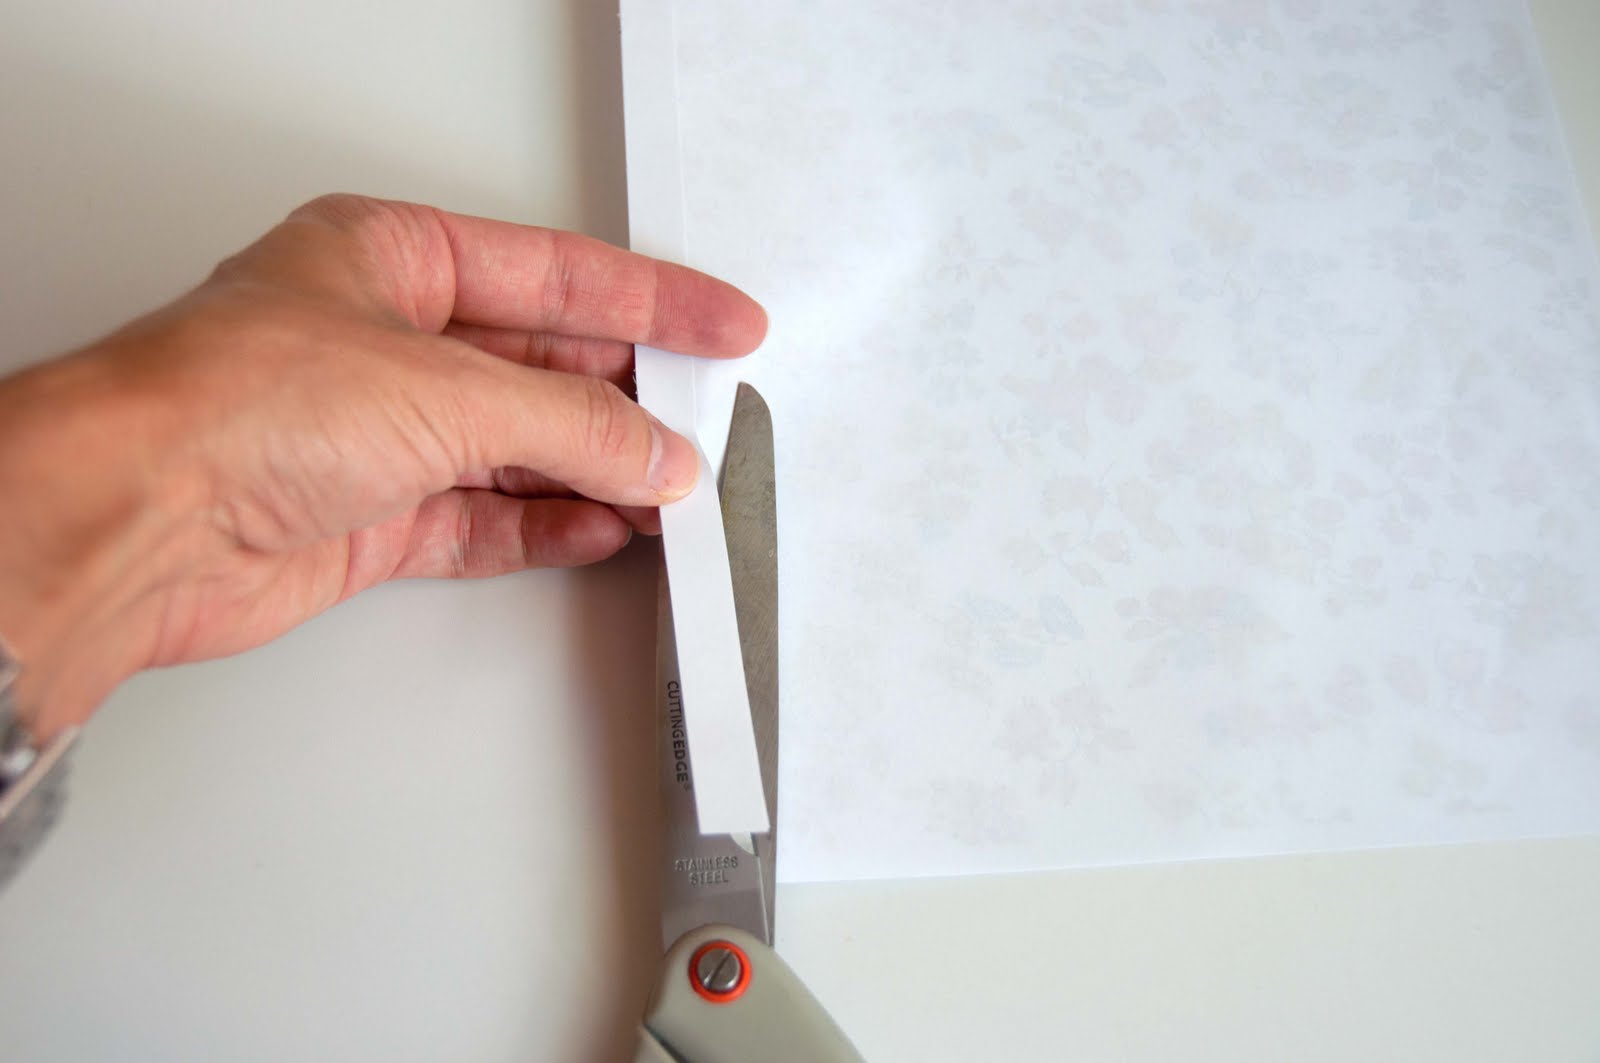
Then you essentially just stick strips of the double sided tape on the “wrong” side of the paper, then cut the strips out!
Simple, but what a fun look… plus you can feel good about using up your stash too!
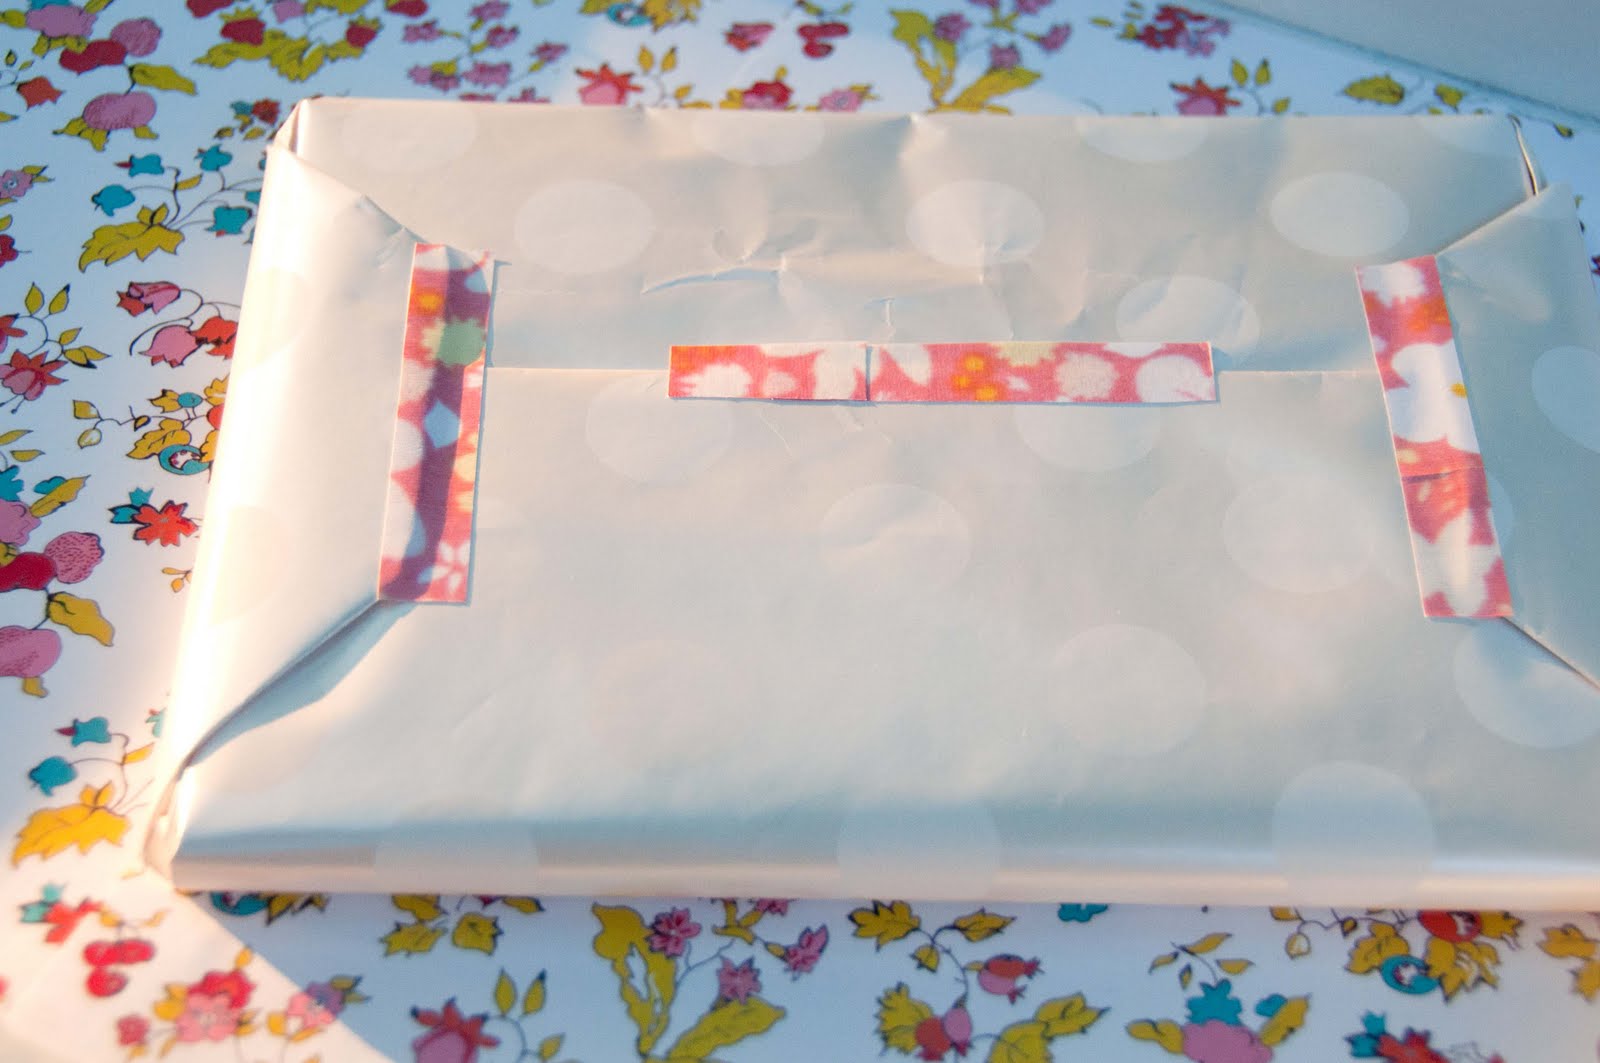
I bet you could get even more durability if you sealed the paper first with Mod Podge or a clear acrylic sealer.
Here’s another fun tutorial using FABRIC SCRAPS to create the Washi tape look! You’ll never look at your scraps the same again!
Be sure to check out our Washi Tape inspiration post as well, for even more sticky goodness!
Enjoyed this article? Please share!


[...] sure to check out our DIY Washi Tape post for ideas on making your OWN faux [...]
cute idea… hmmm… better figure out how to do it w/ one w/o the paper liner.
-d alis