Hello all. I am taking over the blog for a project life post today. I put together a little step-by-step of hybrid scrapbooking. I’m sure that everyone does it a little bit differently, but I thought I would share a few techniques that work for me.
I got to play with these lovely two kits. Check out the this blog post for lots more beautiful Eric Carle kits and inspiration.
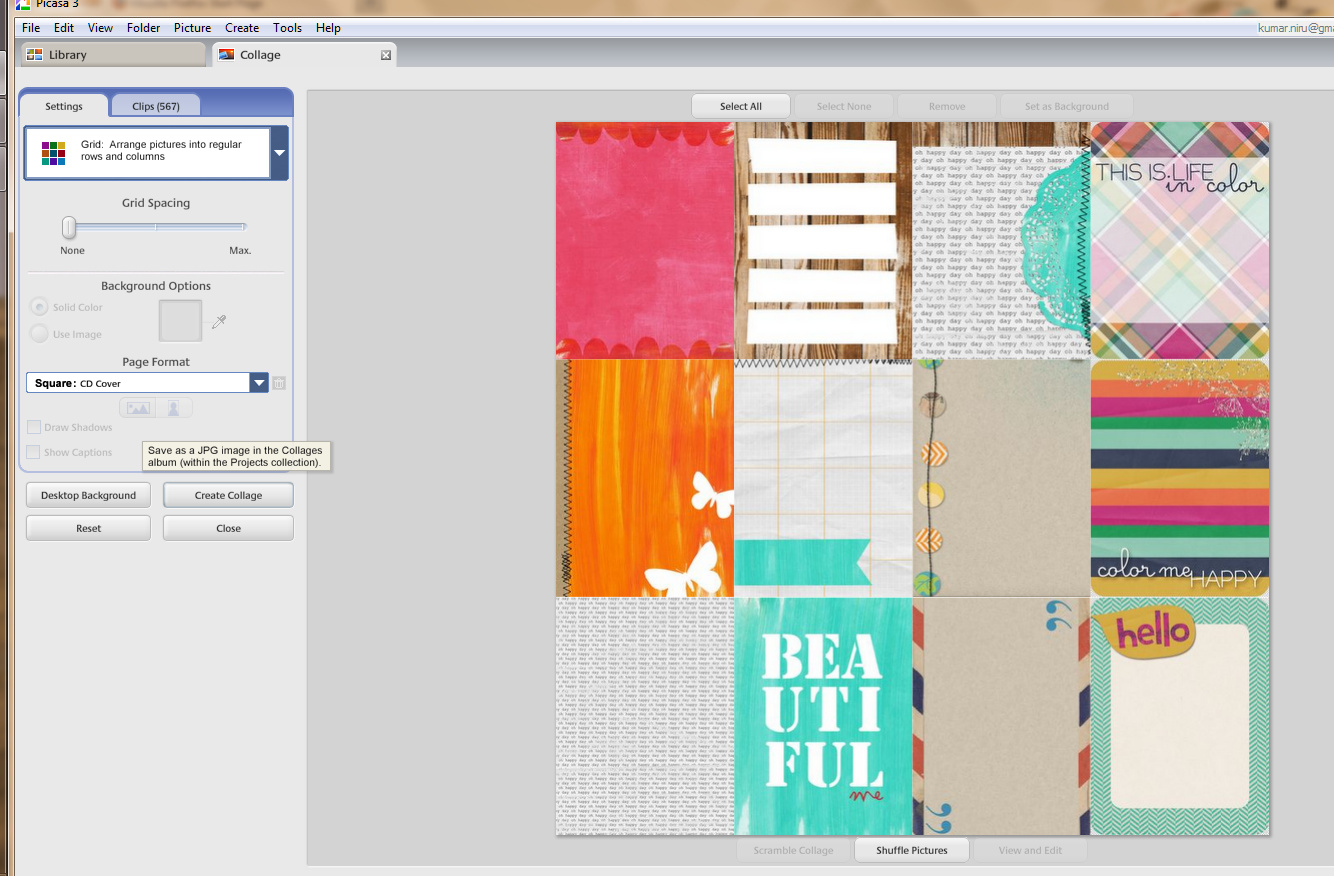
I’m not doing anything fancy, so I just make a collage in picasa of a few favorite cards.
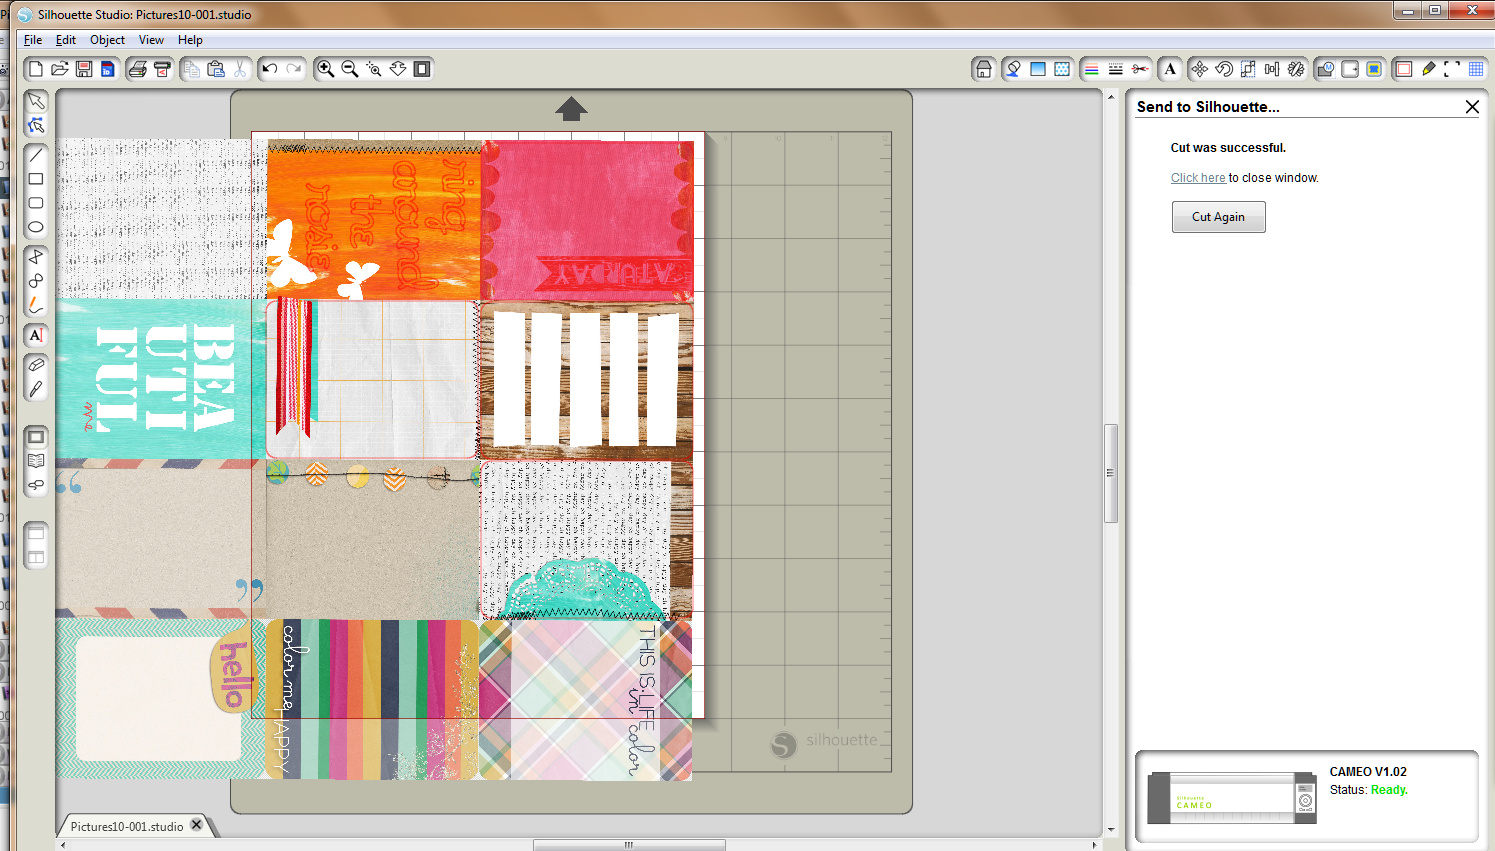
I open the file in my silhouette & draw some rounded 4×3 rectangles around the cards.
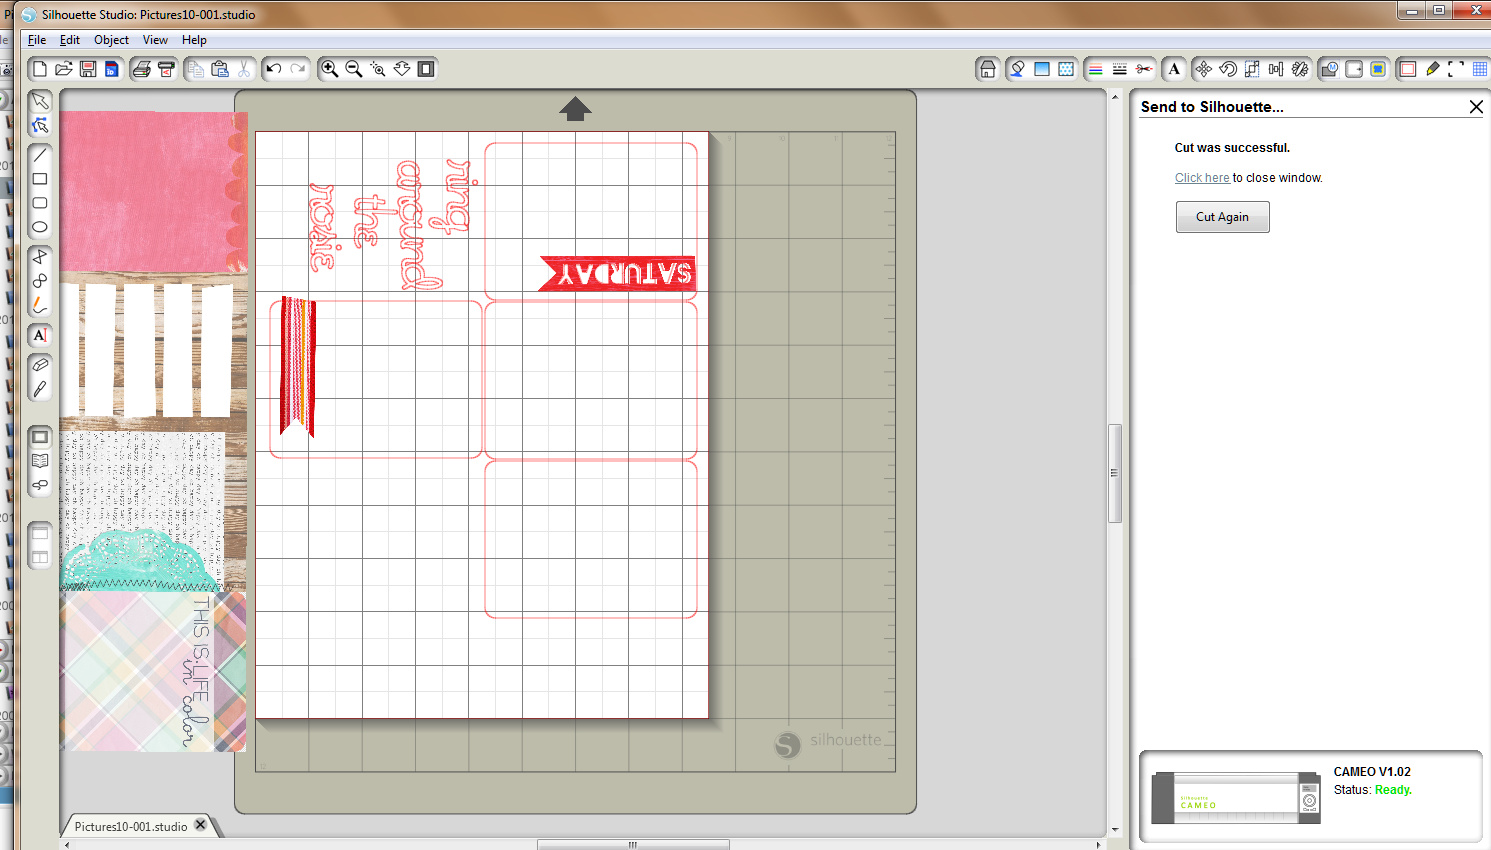
You can see a little better if I move it over. I layer over some digi ribbons & a Saturday tab.

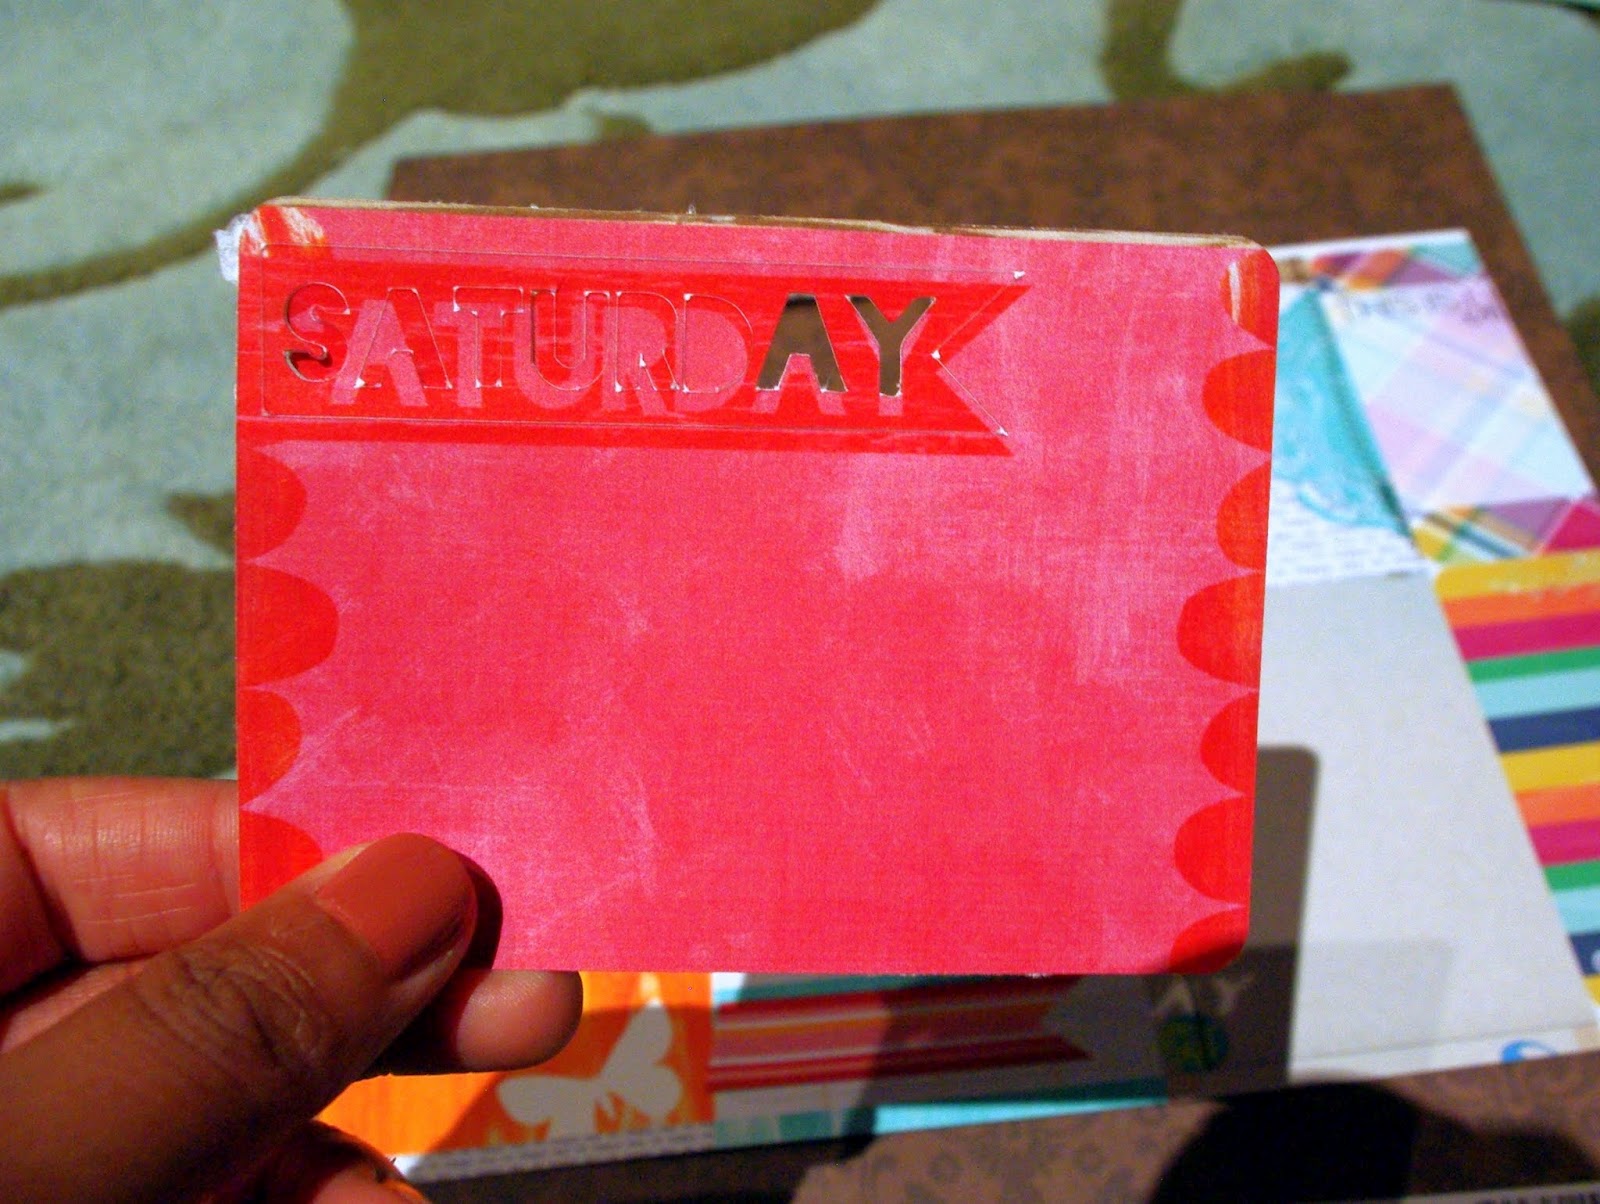
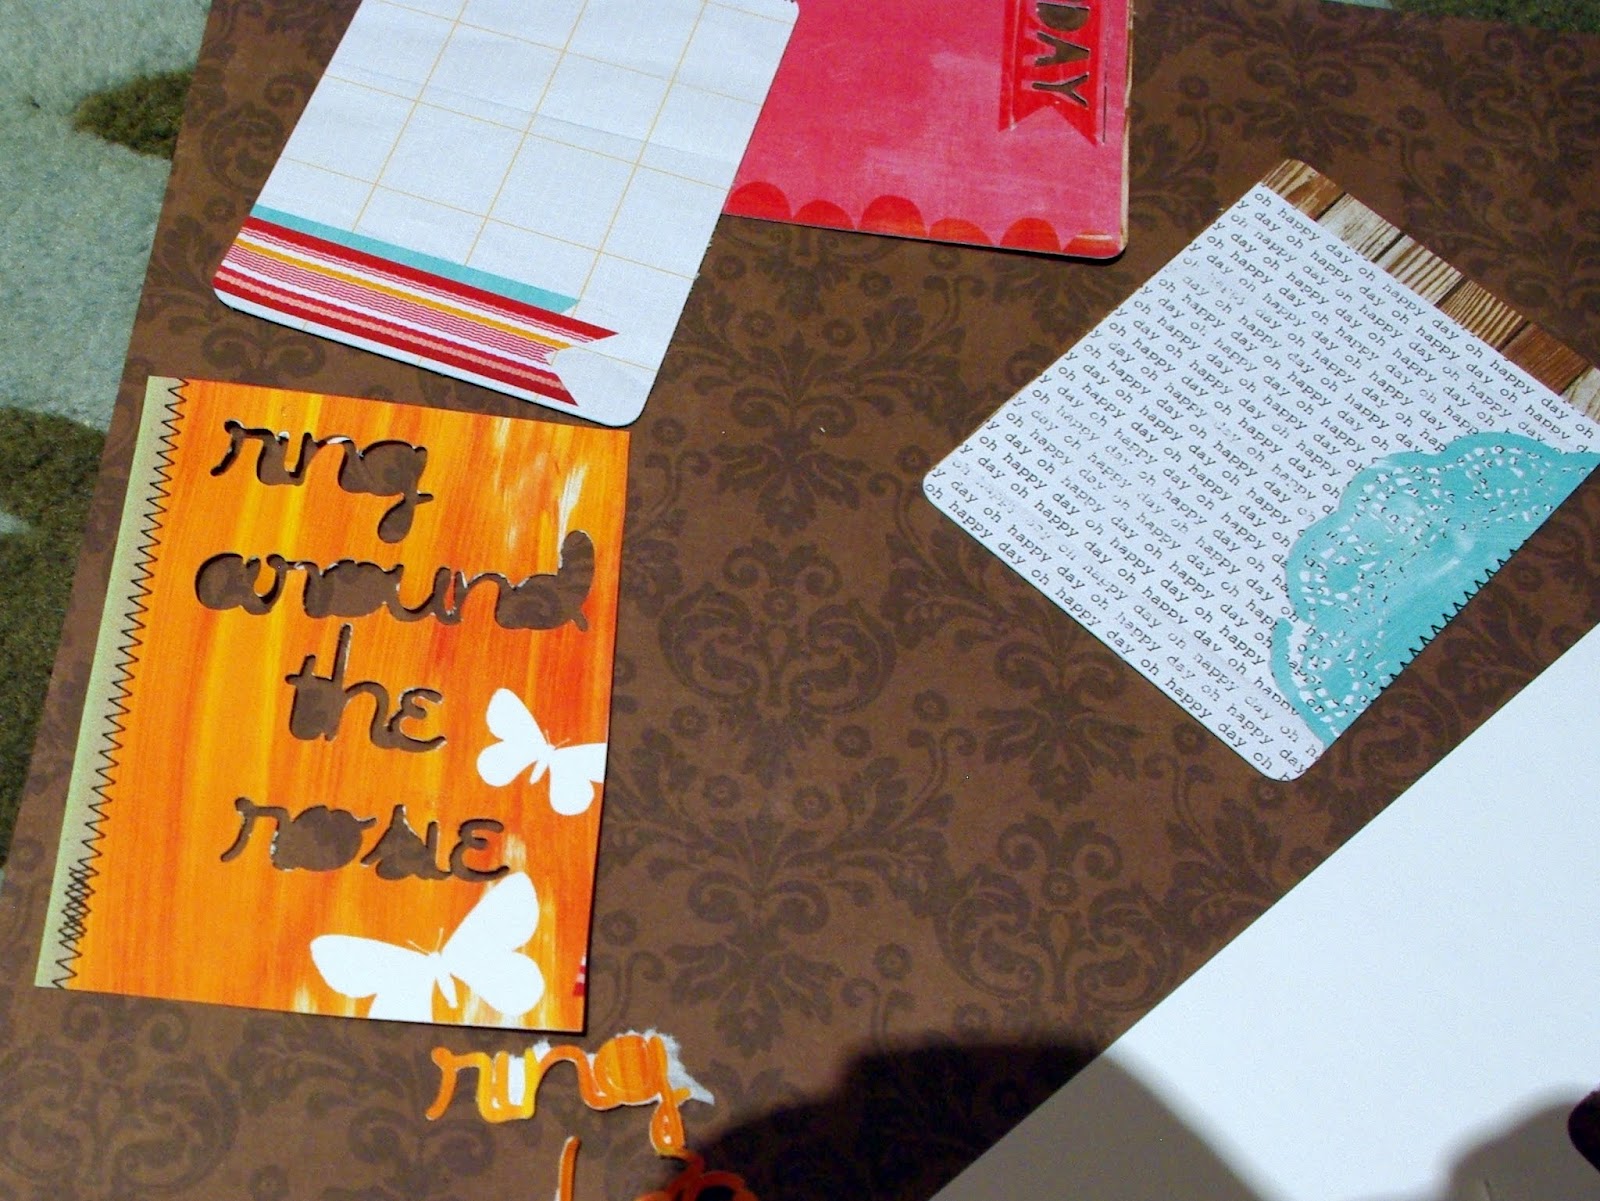
Here are the cards out of the printer & cameo.

Love how they pop right out.
I skipped reg marks, so this didn’t line up perfectly, but it still looks cool.
I added my own text to this card. I used this font (it’s free, just click for the link):

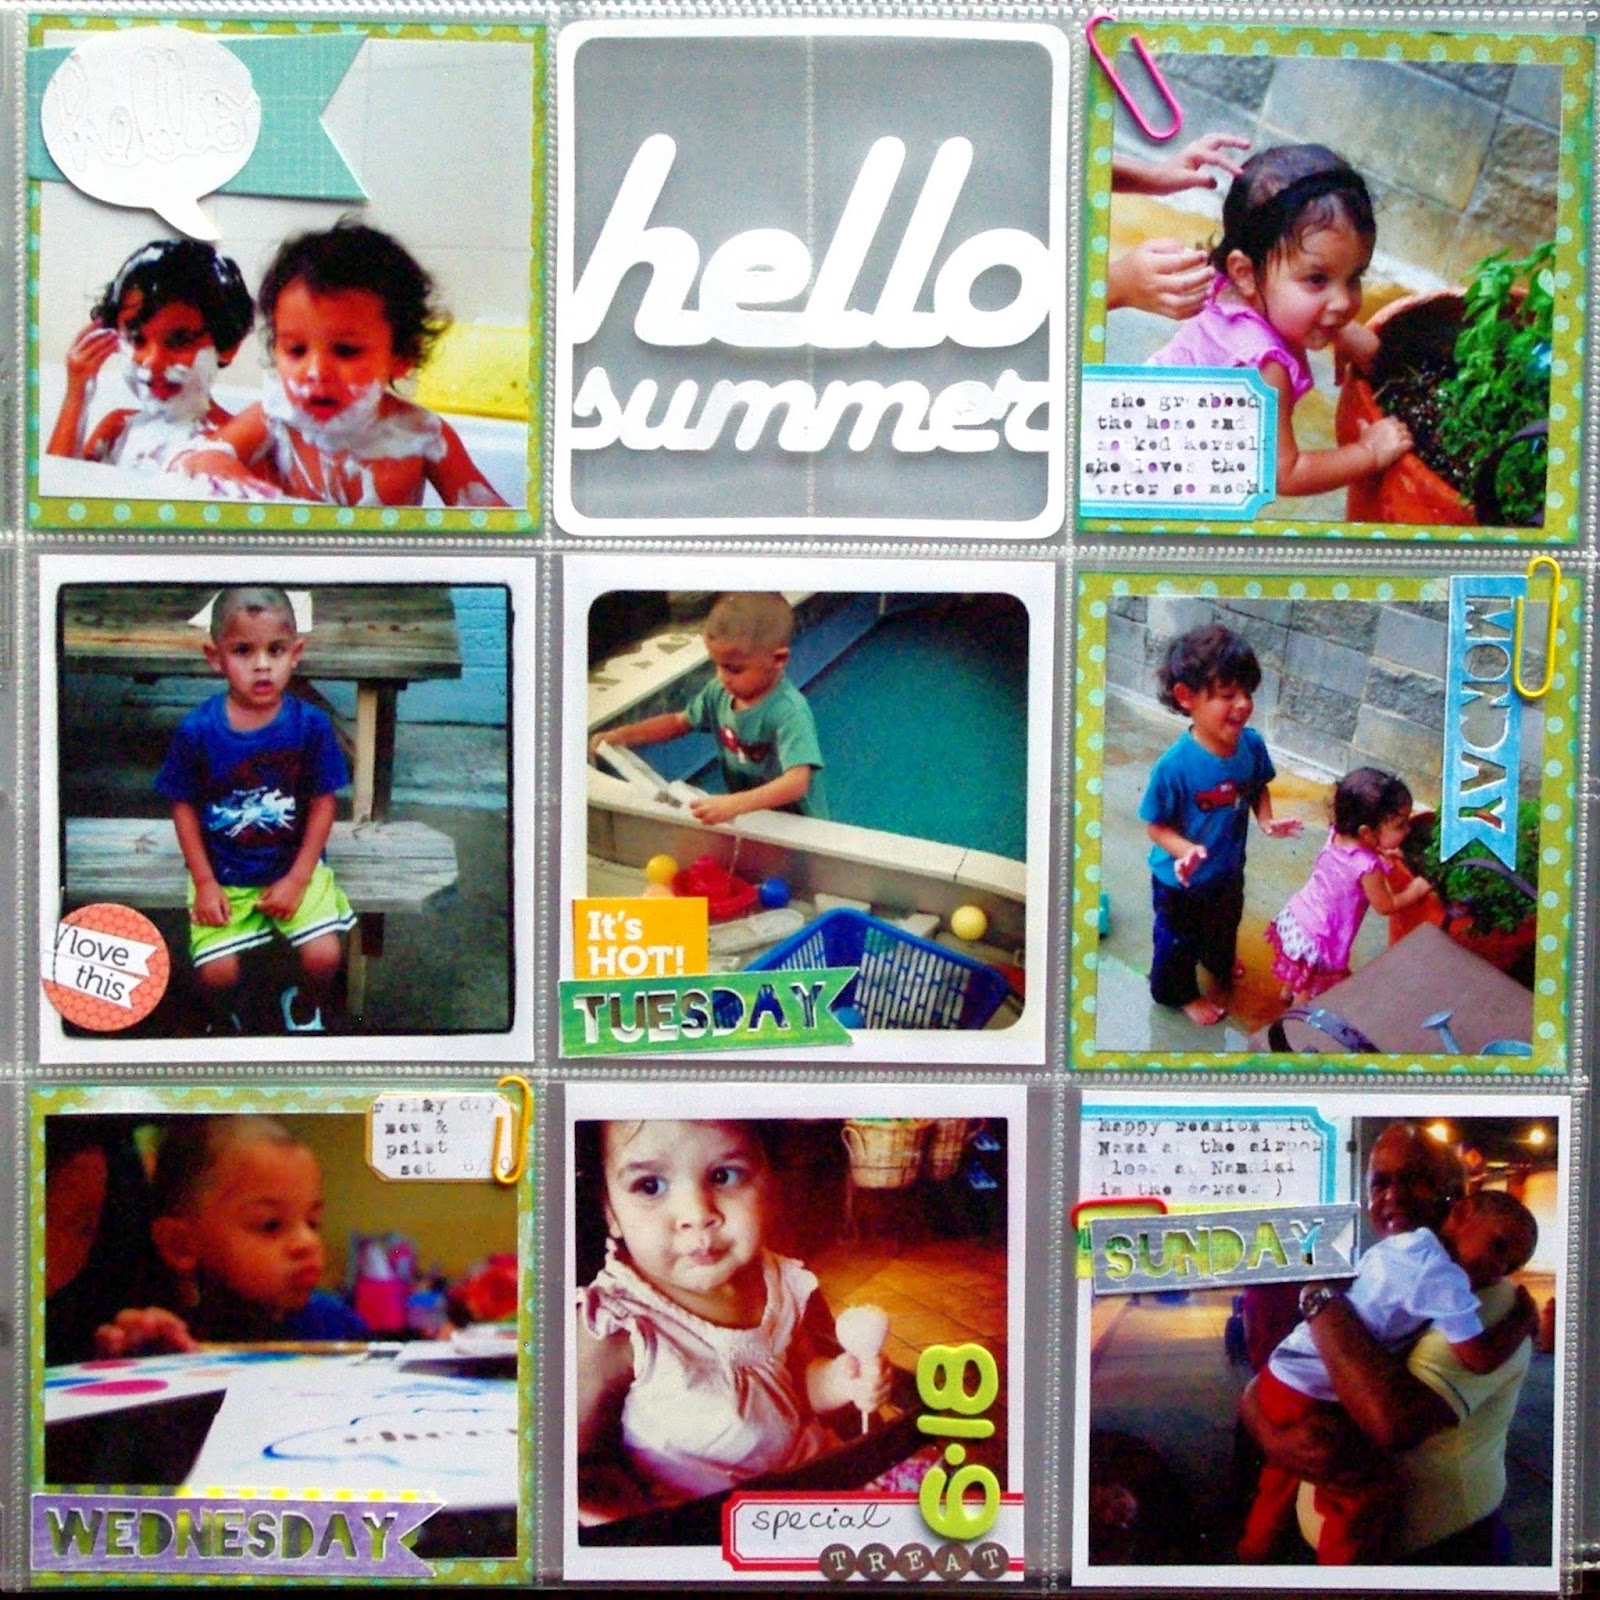
I start to pull my pictures together. I have a lot of 4×4 instagrams printed so I use a design C page protector.
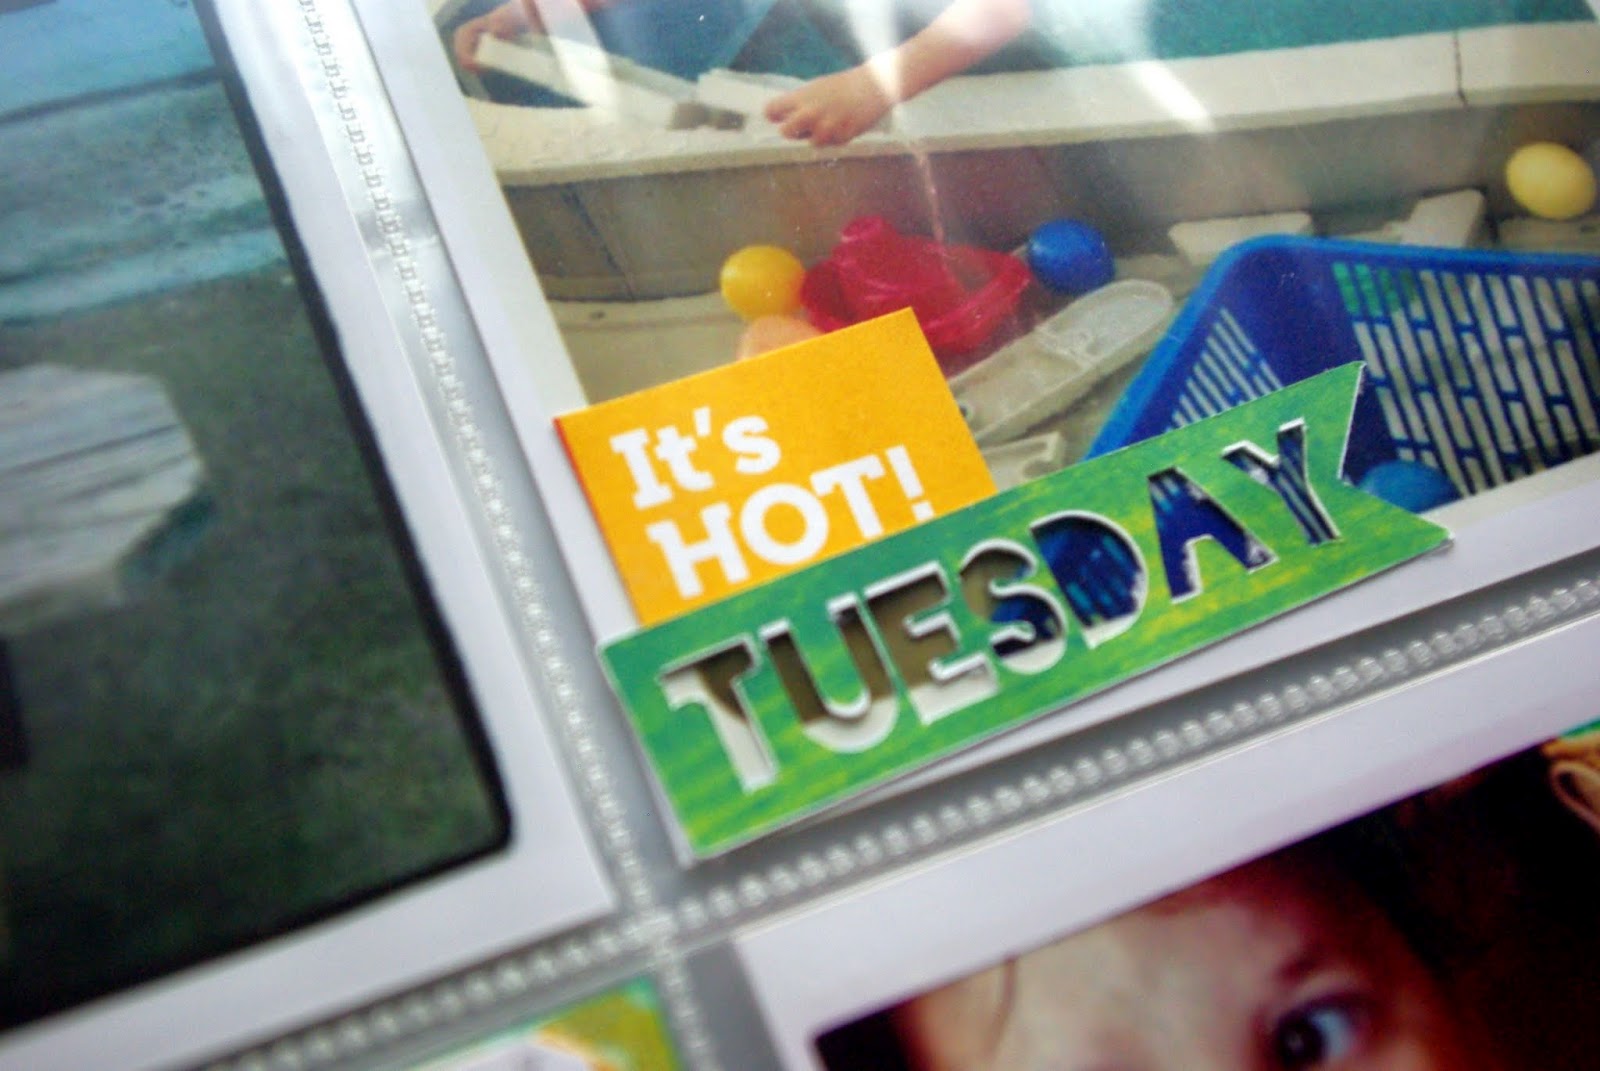
I decided I needed to do a full page with these cute days of the week flags from Lauren.
I just open the .png files in my Studio software & move all the files to one page.
I use the trace feature to cut out the outline of the flags. Of course I hate to waste space on a sheet of cardstock, so I weld a couple squares with the words hello summer to fit in one of my 4×4 squares. I thought it would be a nice way to mark the first (real) day of summer. The font I used here is (also free):

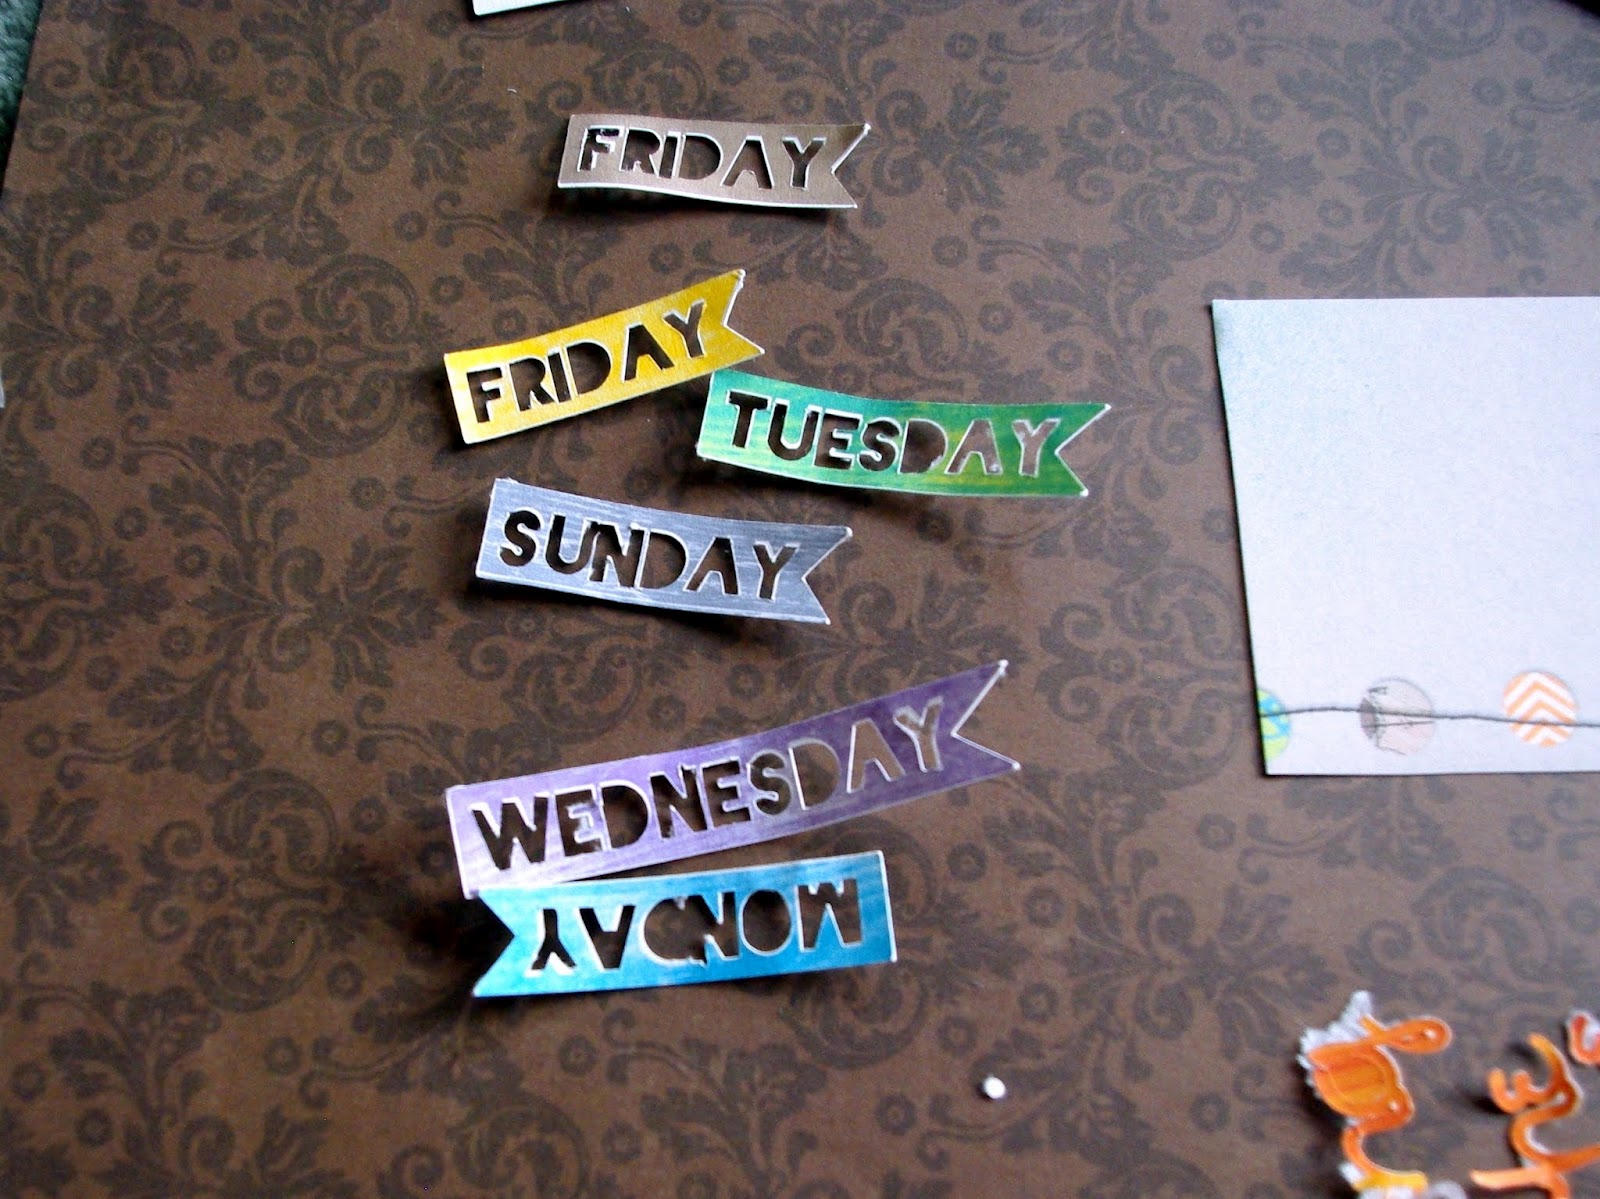
Fresh from the cameo. Love these colors. These look good without the cameo too and were designed to layer easily on your digi pages.
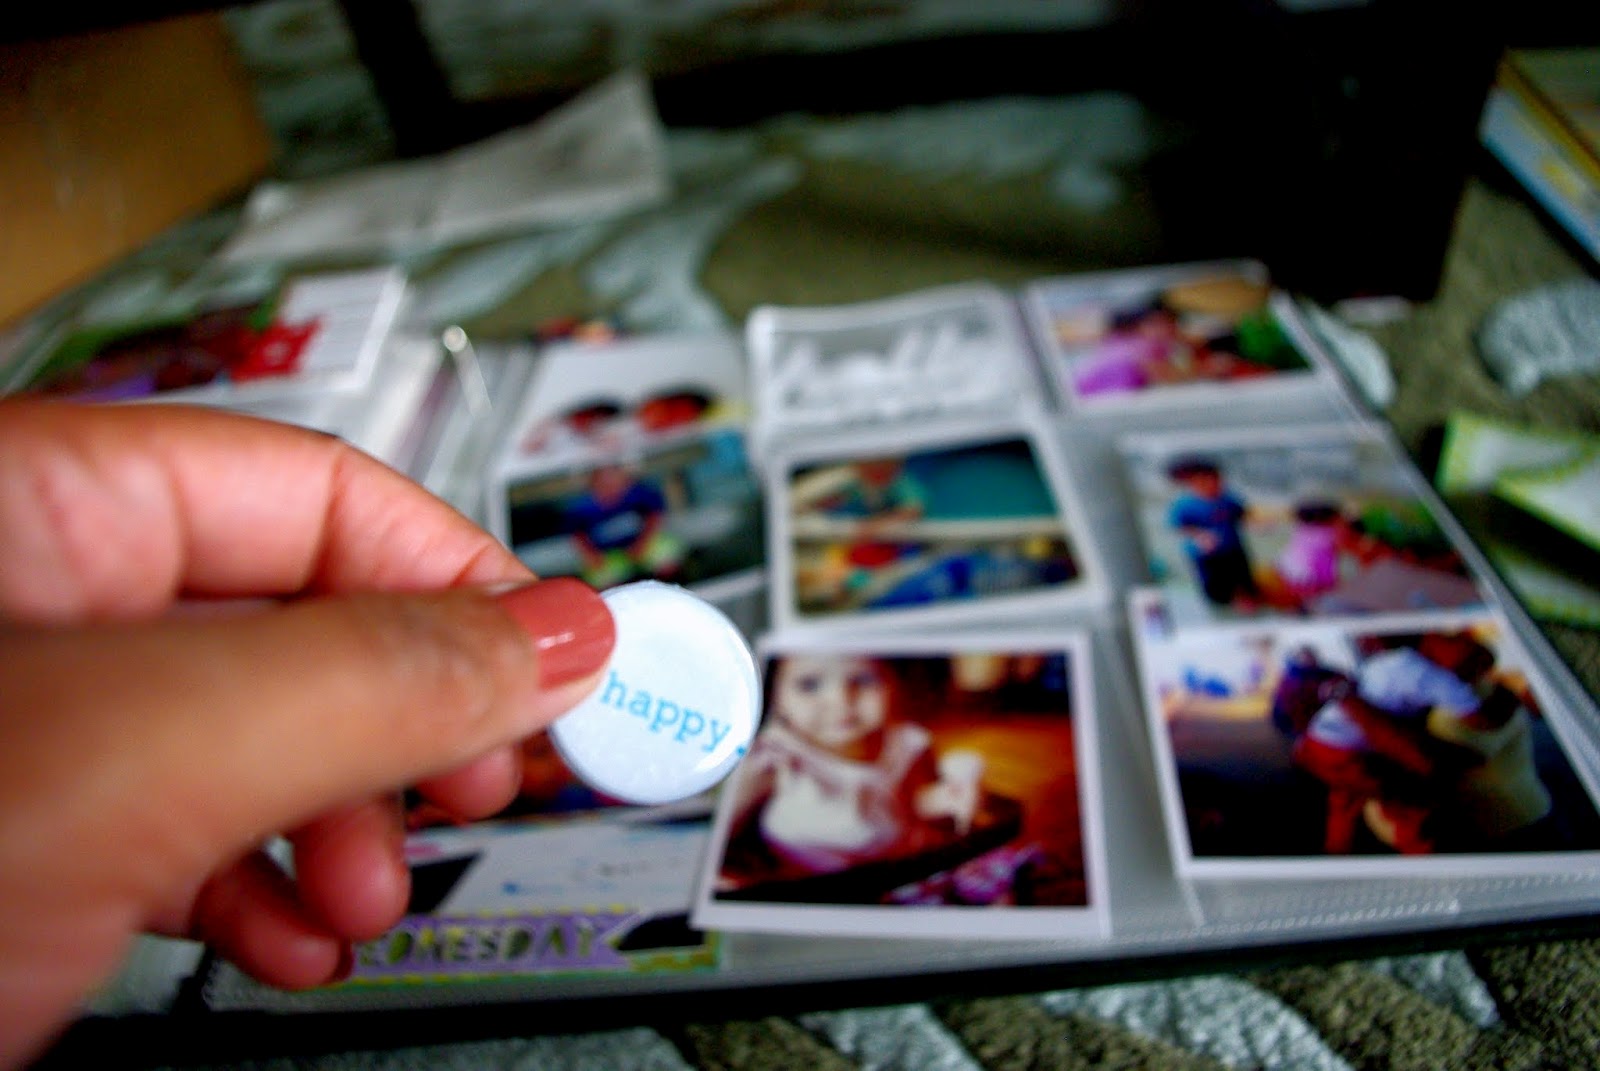
I also printed out this little embellishment & had my machine die cut a one inch circle around it to fit a bubble cap. Homemade flair
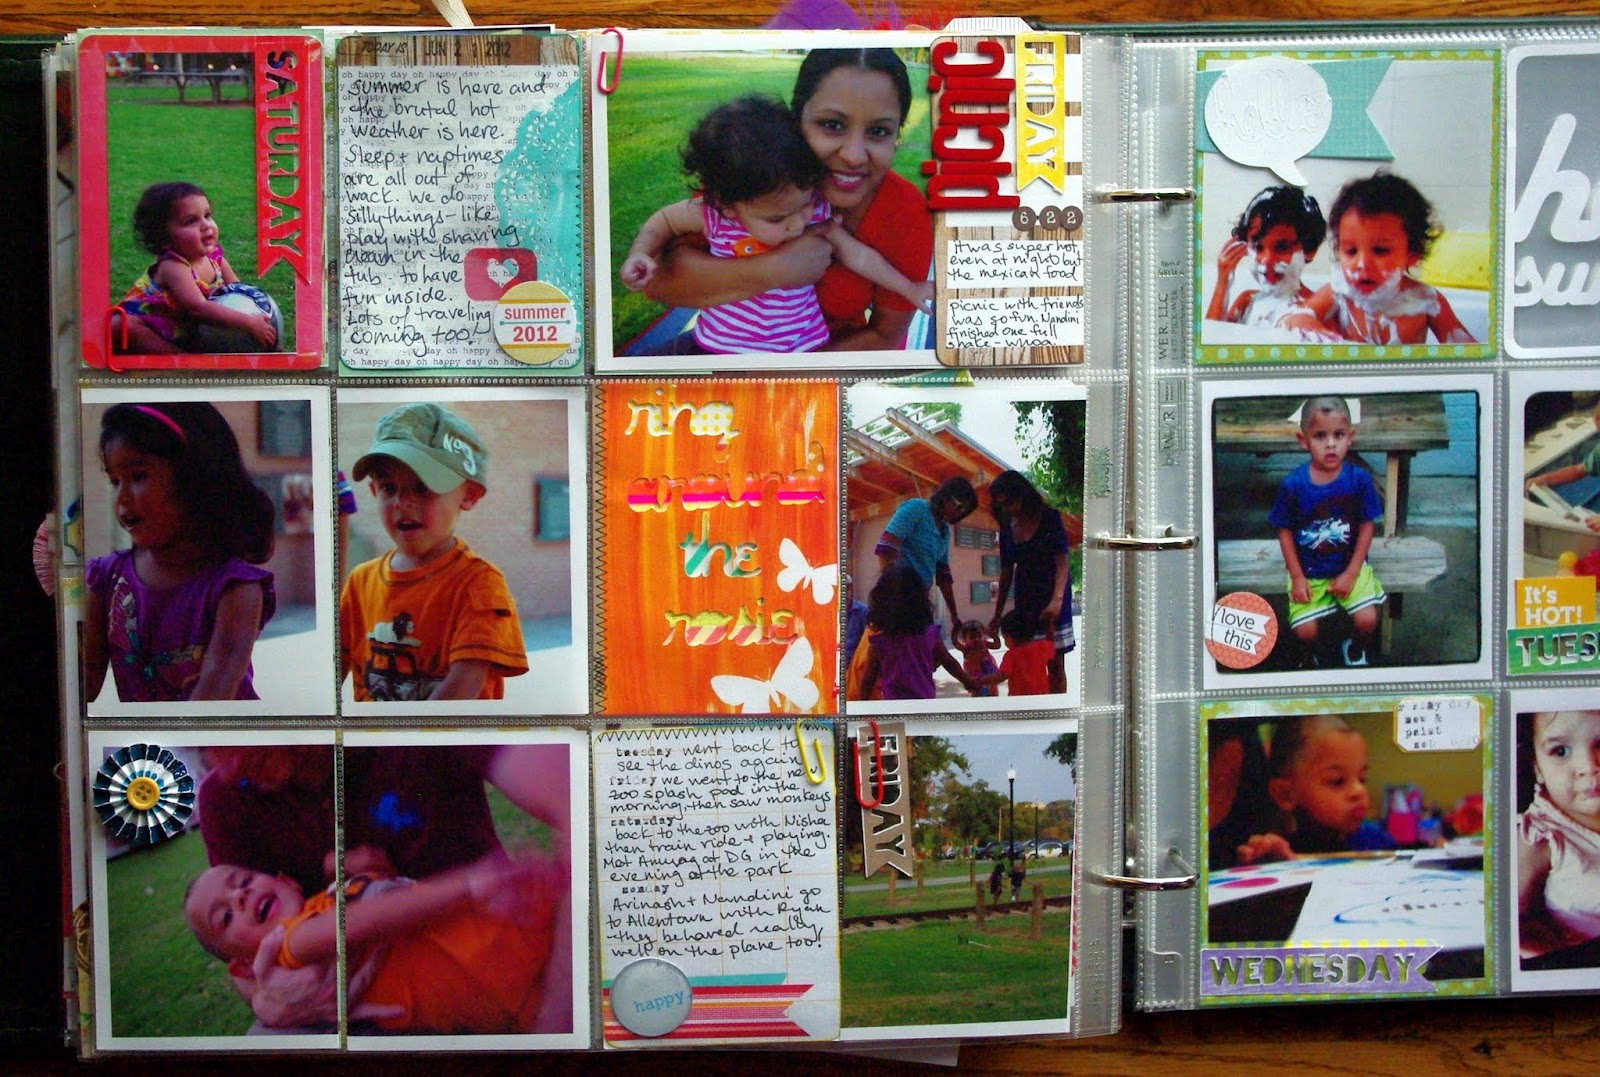
I start working on the left side first. Cut up my pictures & find a place for that little flair.
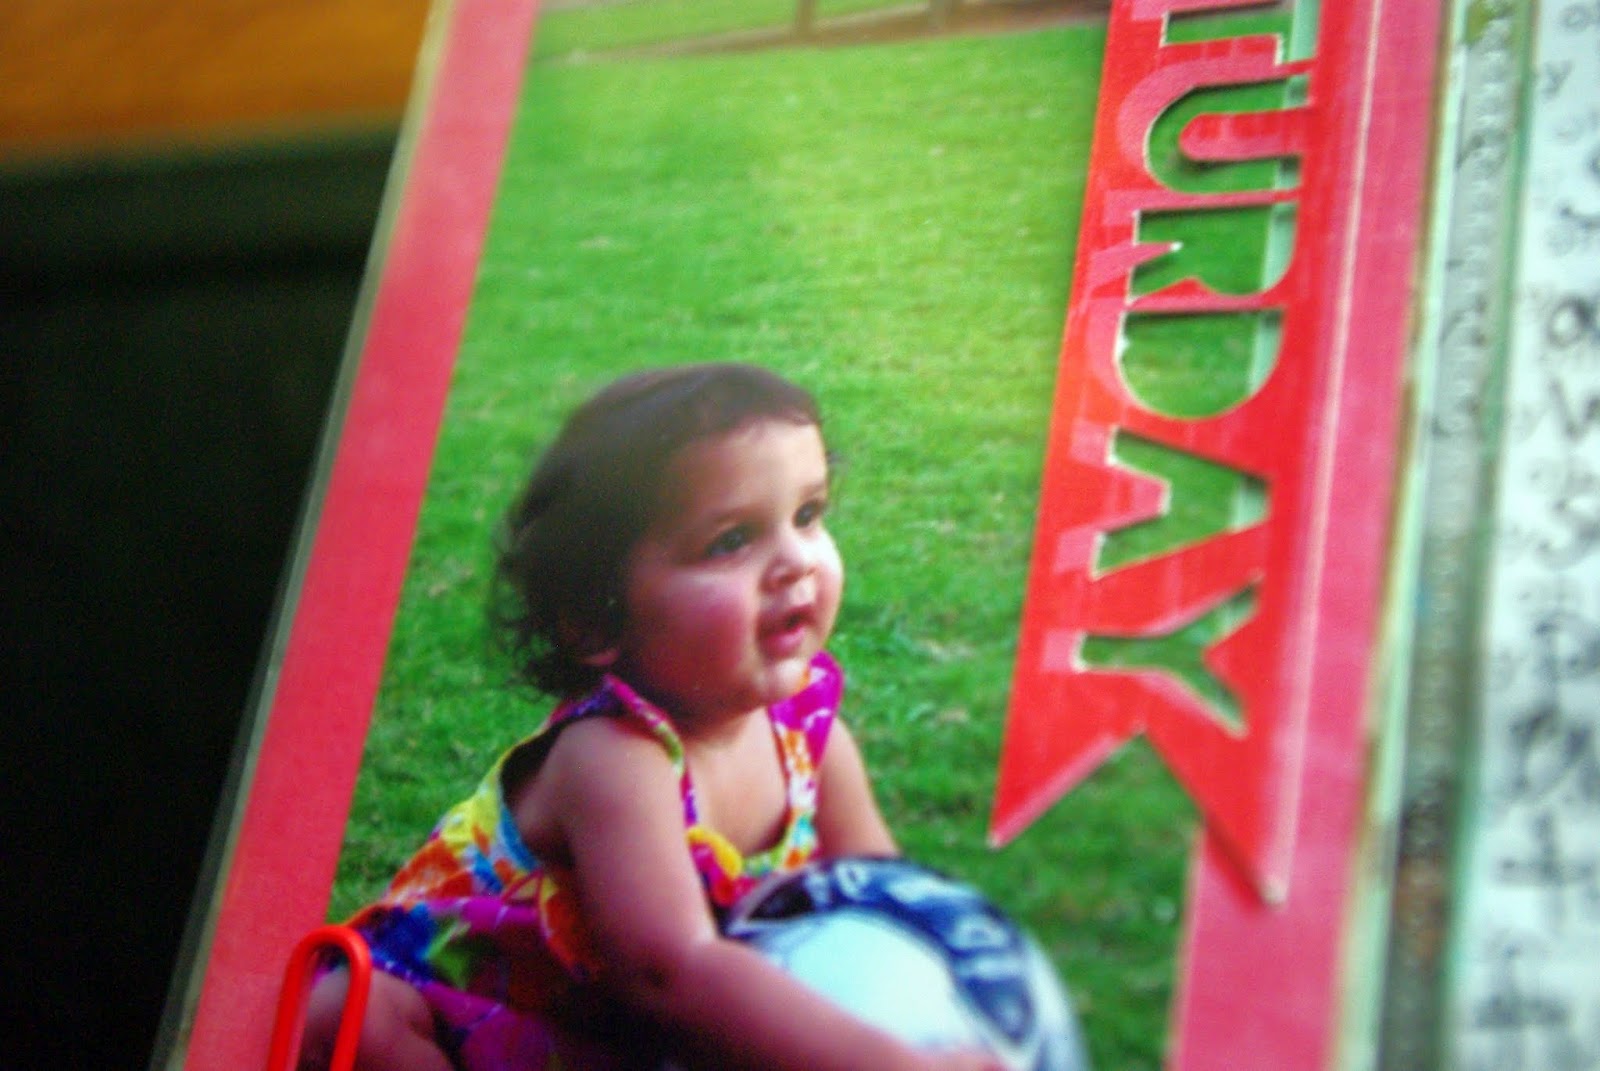
This little picture is perfect to slip under this banner. Nandini loved playing ball at the park on Saturday night.

I want to journal on this card, so I paint some white distress ink over the middle. Just enough so you can still the cute background pattern around the edges.
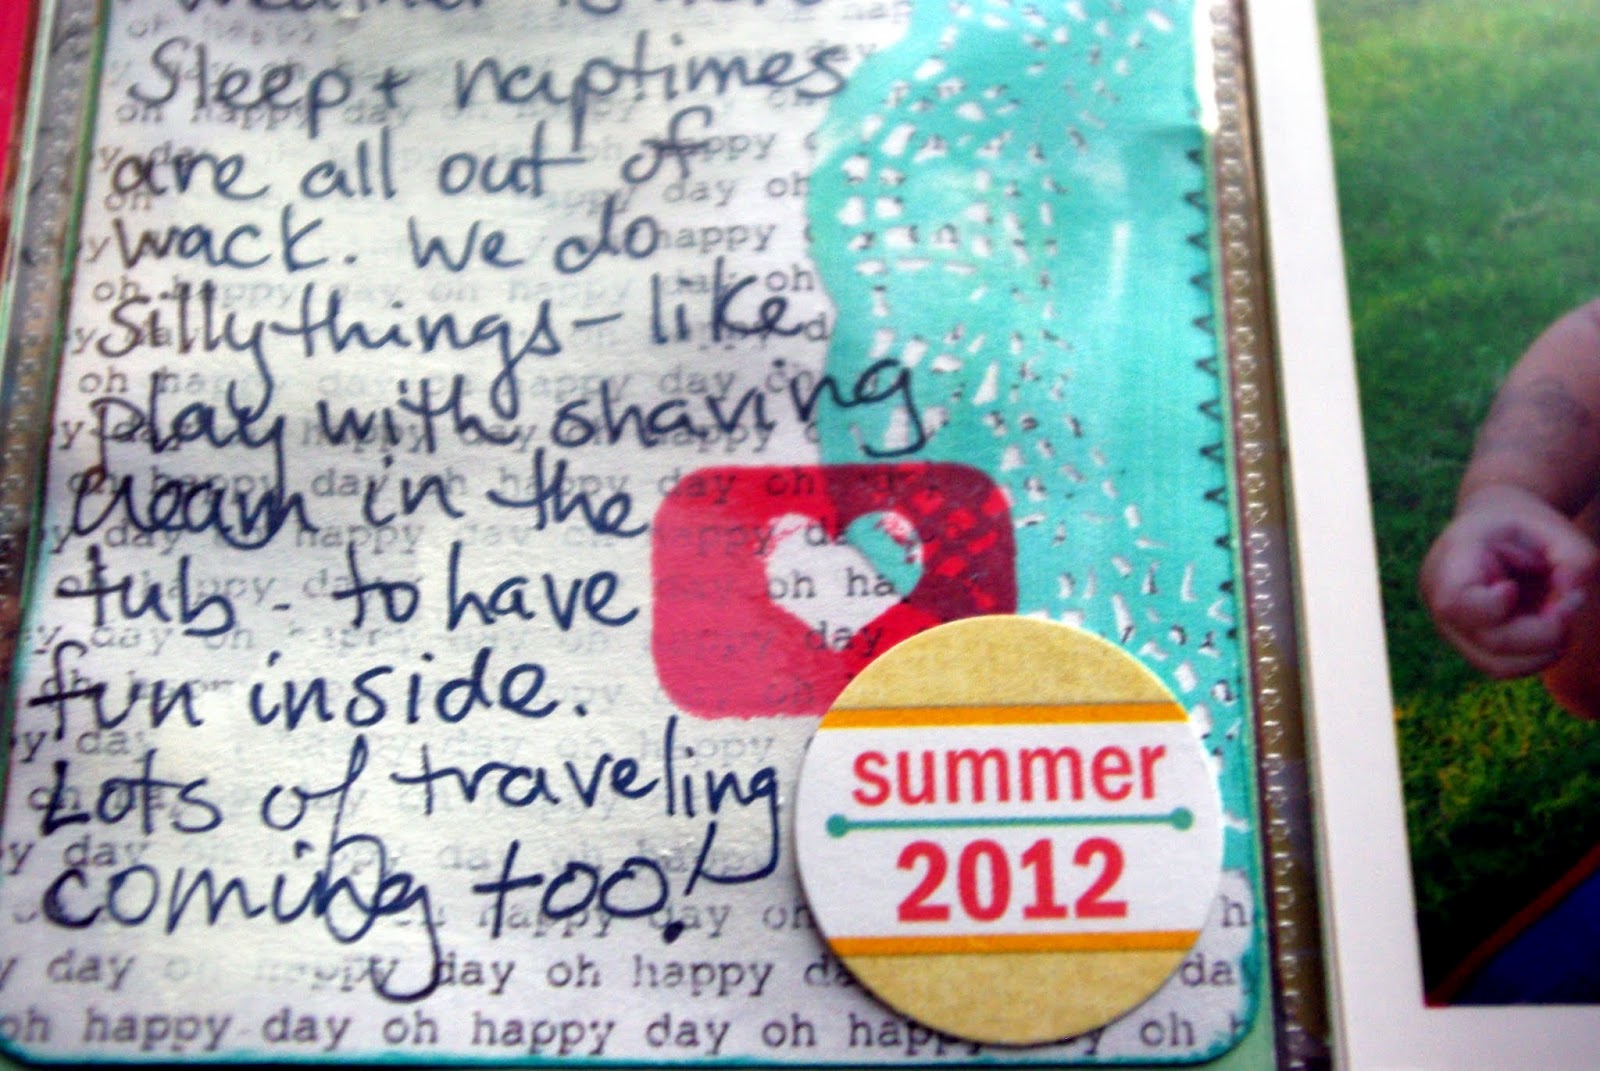
I add my only stamp of the week and an elle’s studio circle tidbit.
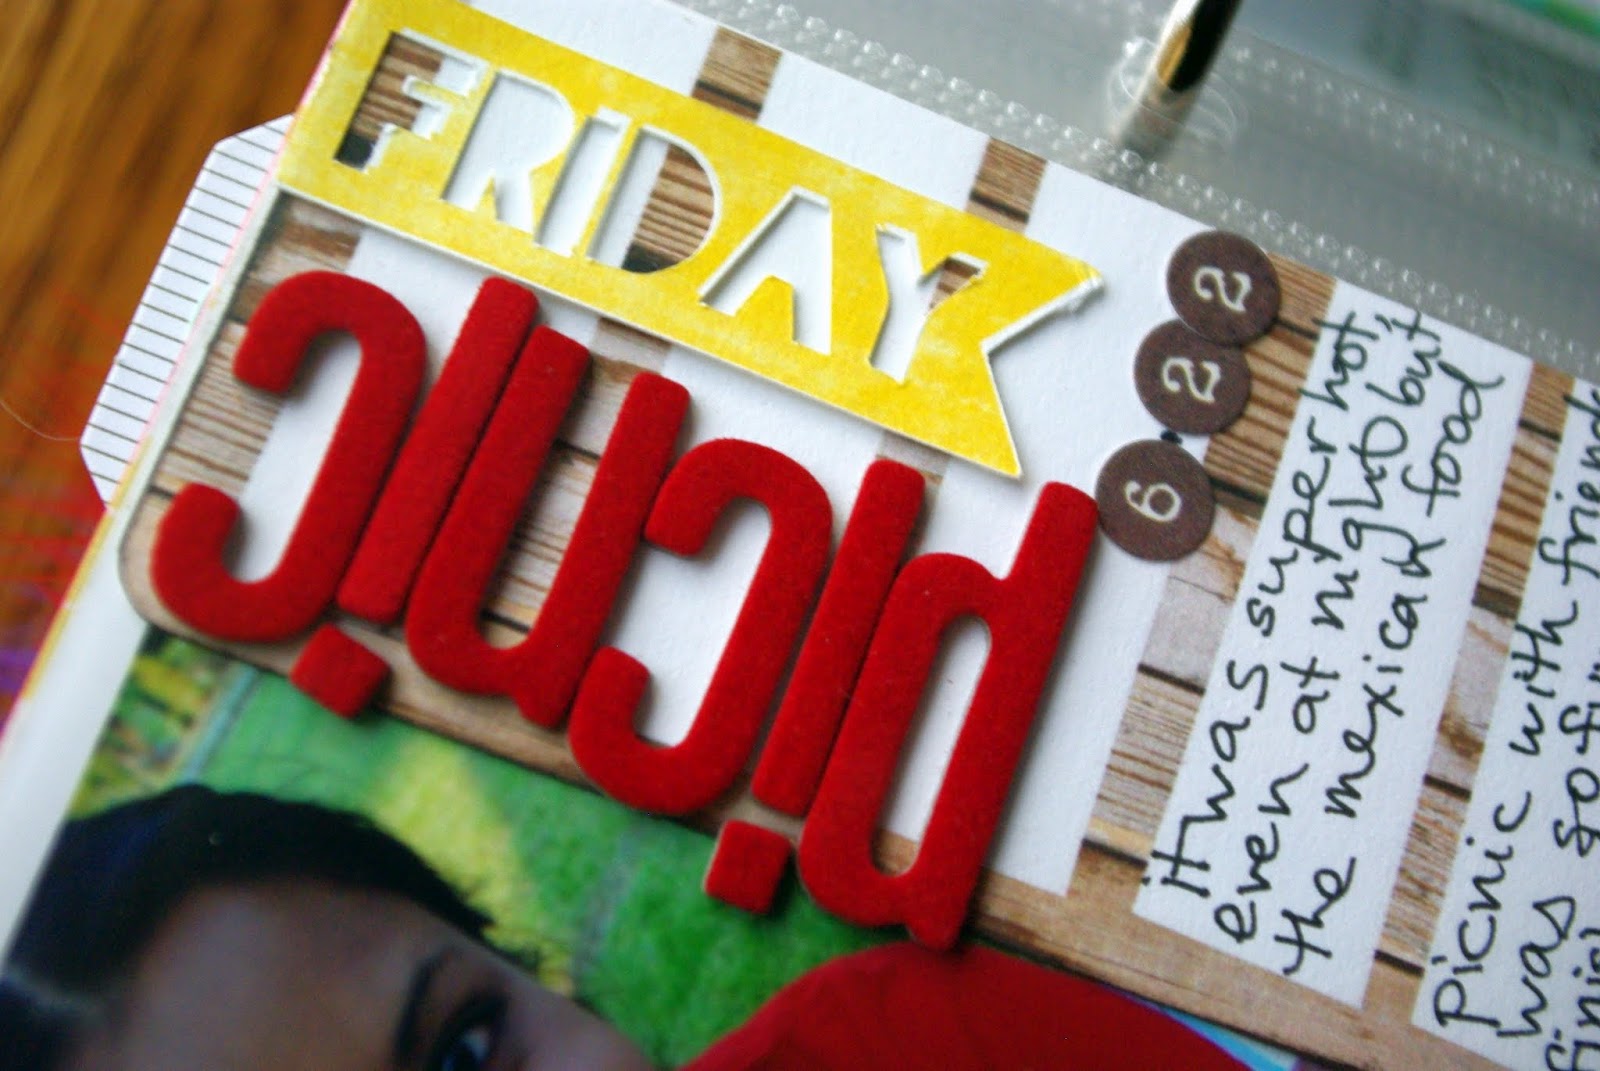
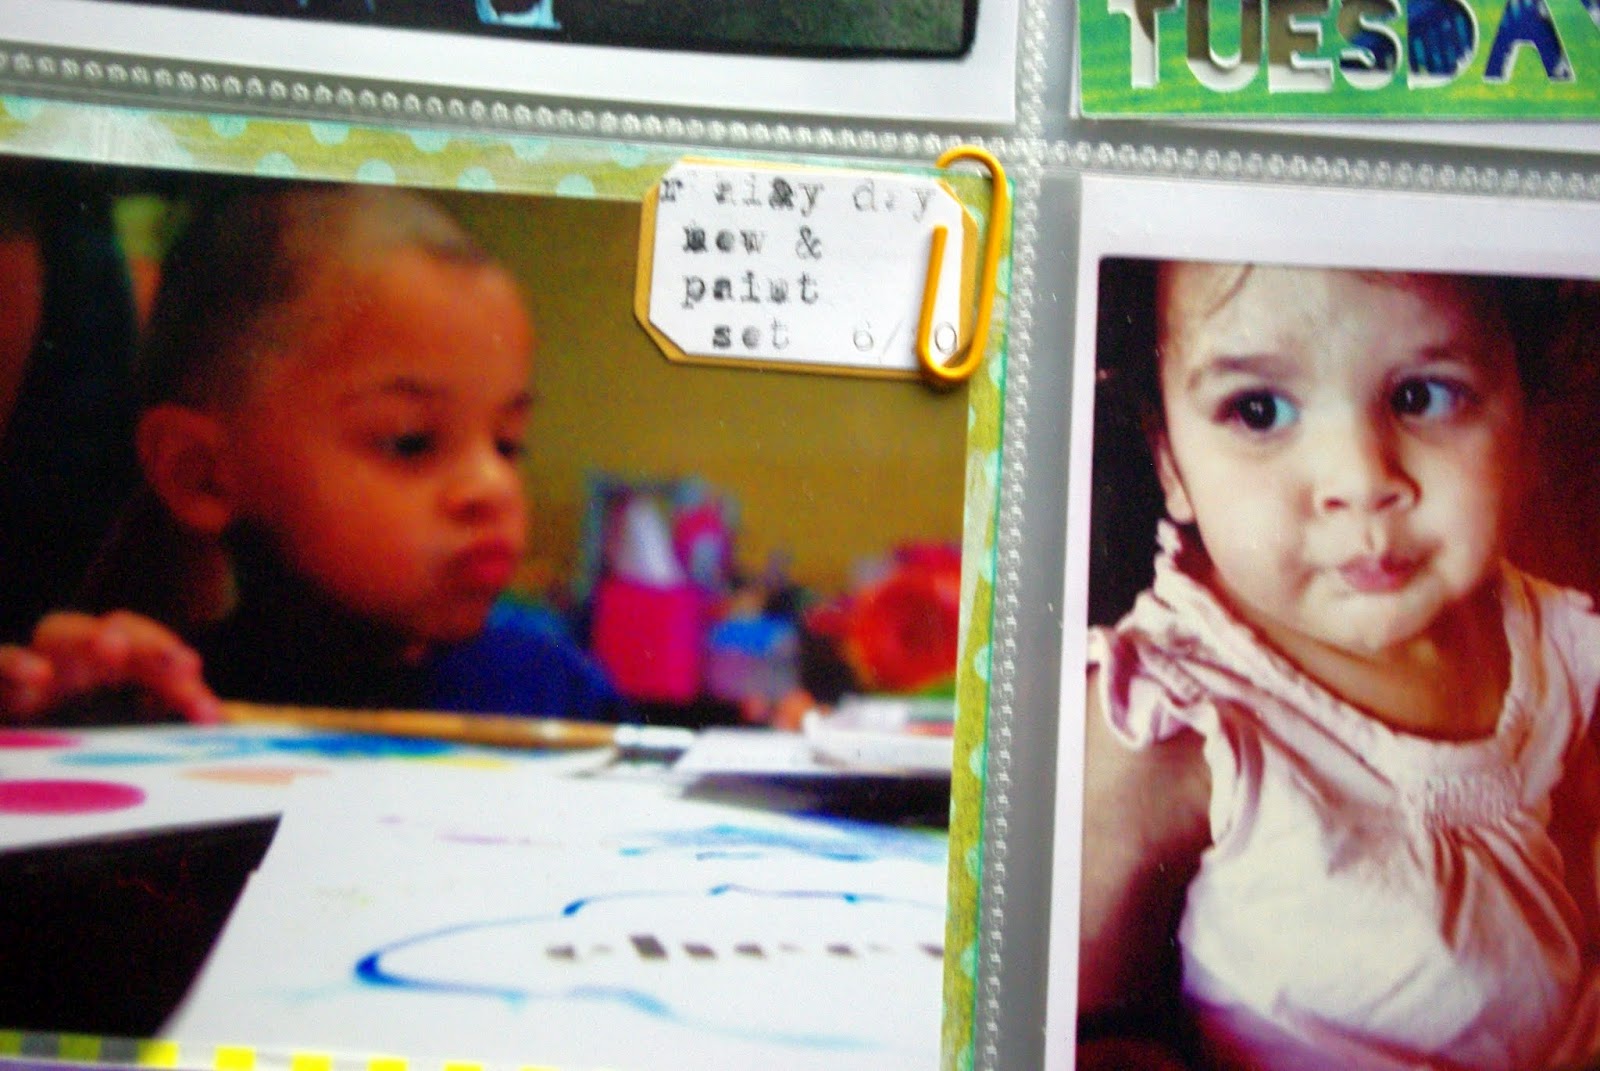
I add these new red flocked thickers, another day of the week flag & some journaling. I use some little letter stickers to add the date (trying to use up all those numbers!).
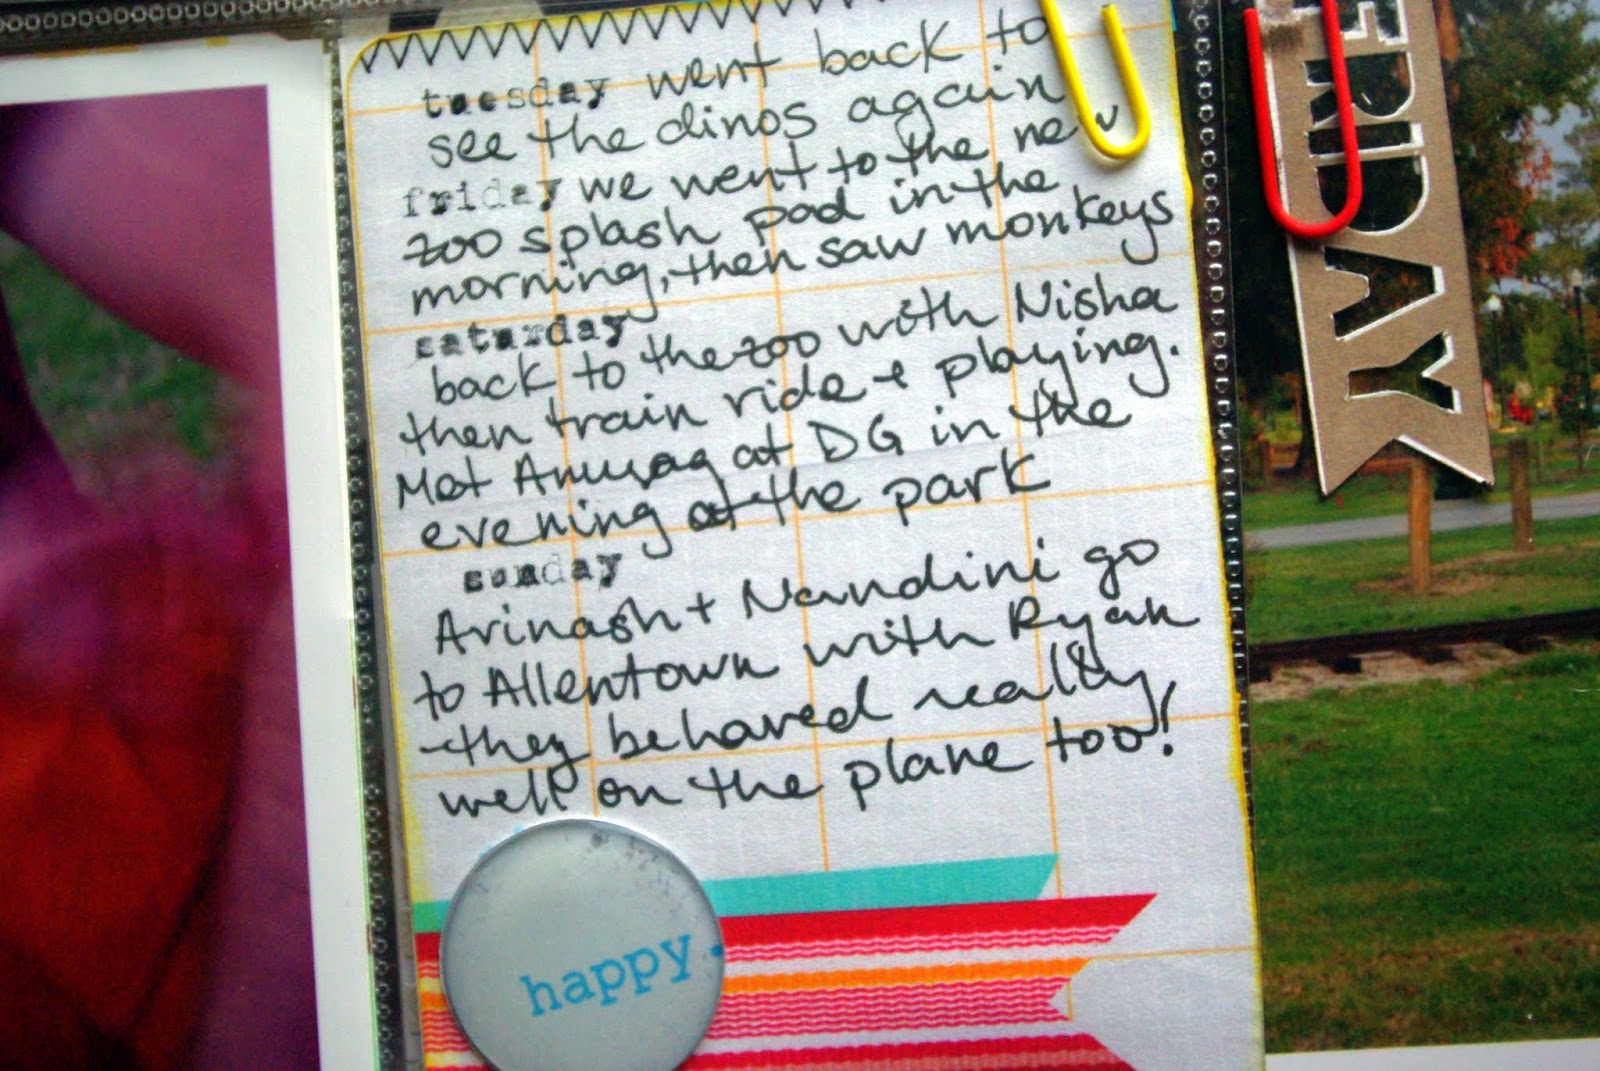
I type a little & write a little to fill out a week in the review type card. Still getting the hang of my new typewriter. I use the other half of the paperclips from the previous week.
Hmm…don’t really like that dark blue accordion sticker. It is clashing with the bright orange in the middle. And the neon pink washi is a little too much.
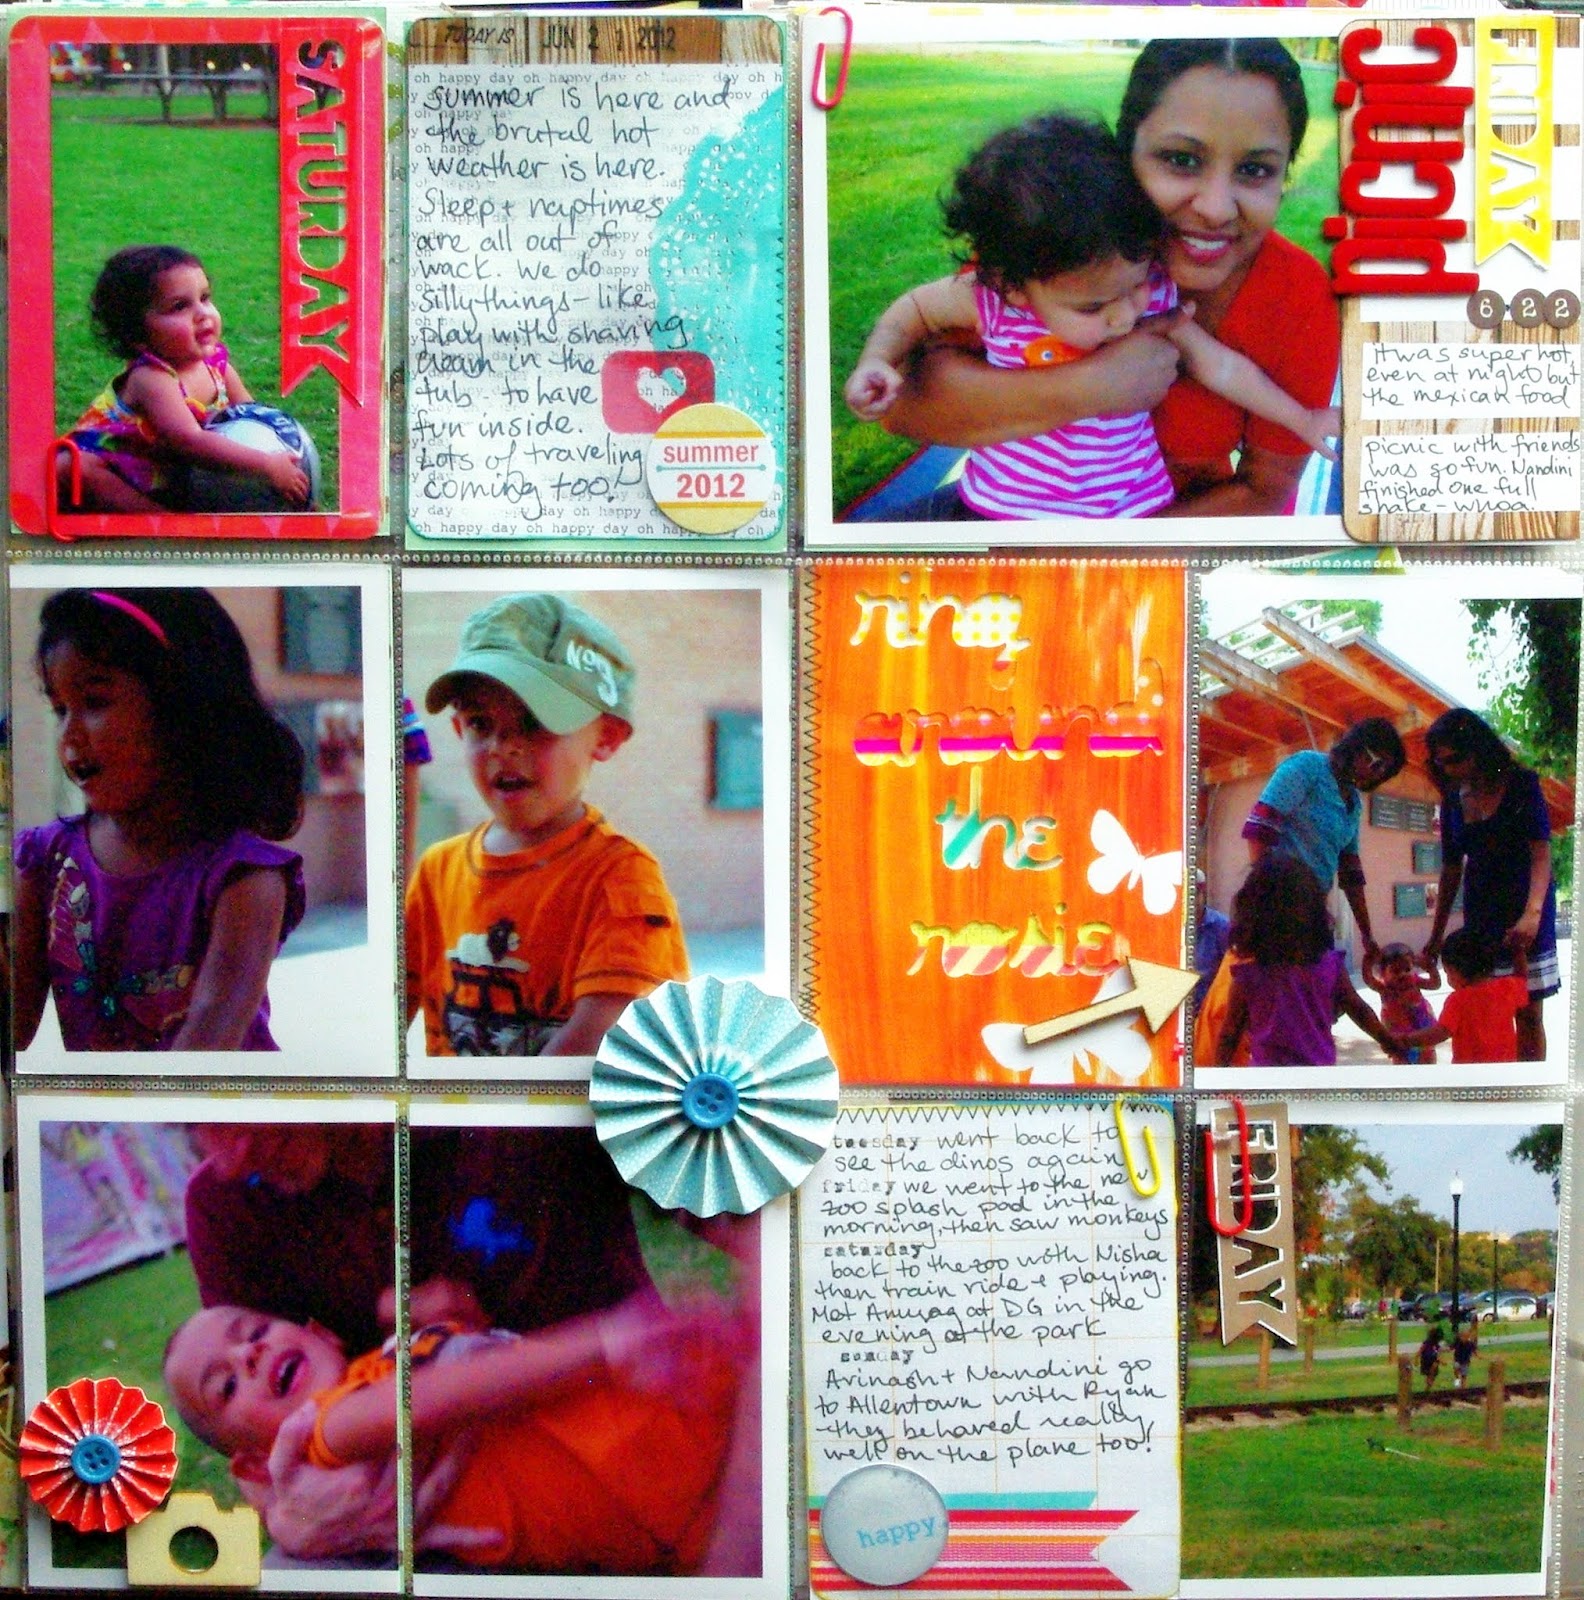
The dark blue is switched out for light blue and red. And some wood veneers find their way on to the page as well.

I shifted the washi tape behind the die cut around a little so less of the neon tape is showing. Even Heidi Swapp recommends using them sparingly on the back of the package.
This page came together a lot faster. After looking at it originally, I added paper clips to match the left side. I trimmed the regular photos down to 3.75×3.75 and backed it with a square of patterned paper. I had gotten a whole stack together to choose from, but really liked the unity and simplicity of using the same paper throughout.
I rubbed teal chalk ink around the edges. I love that little pop of color & use this color a lot. It is not super crisp for letters, but it is great for backgrounds & edges like this.
Layering two die cuts.
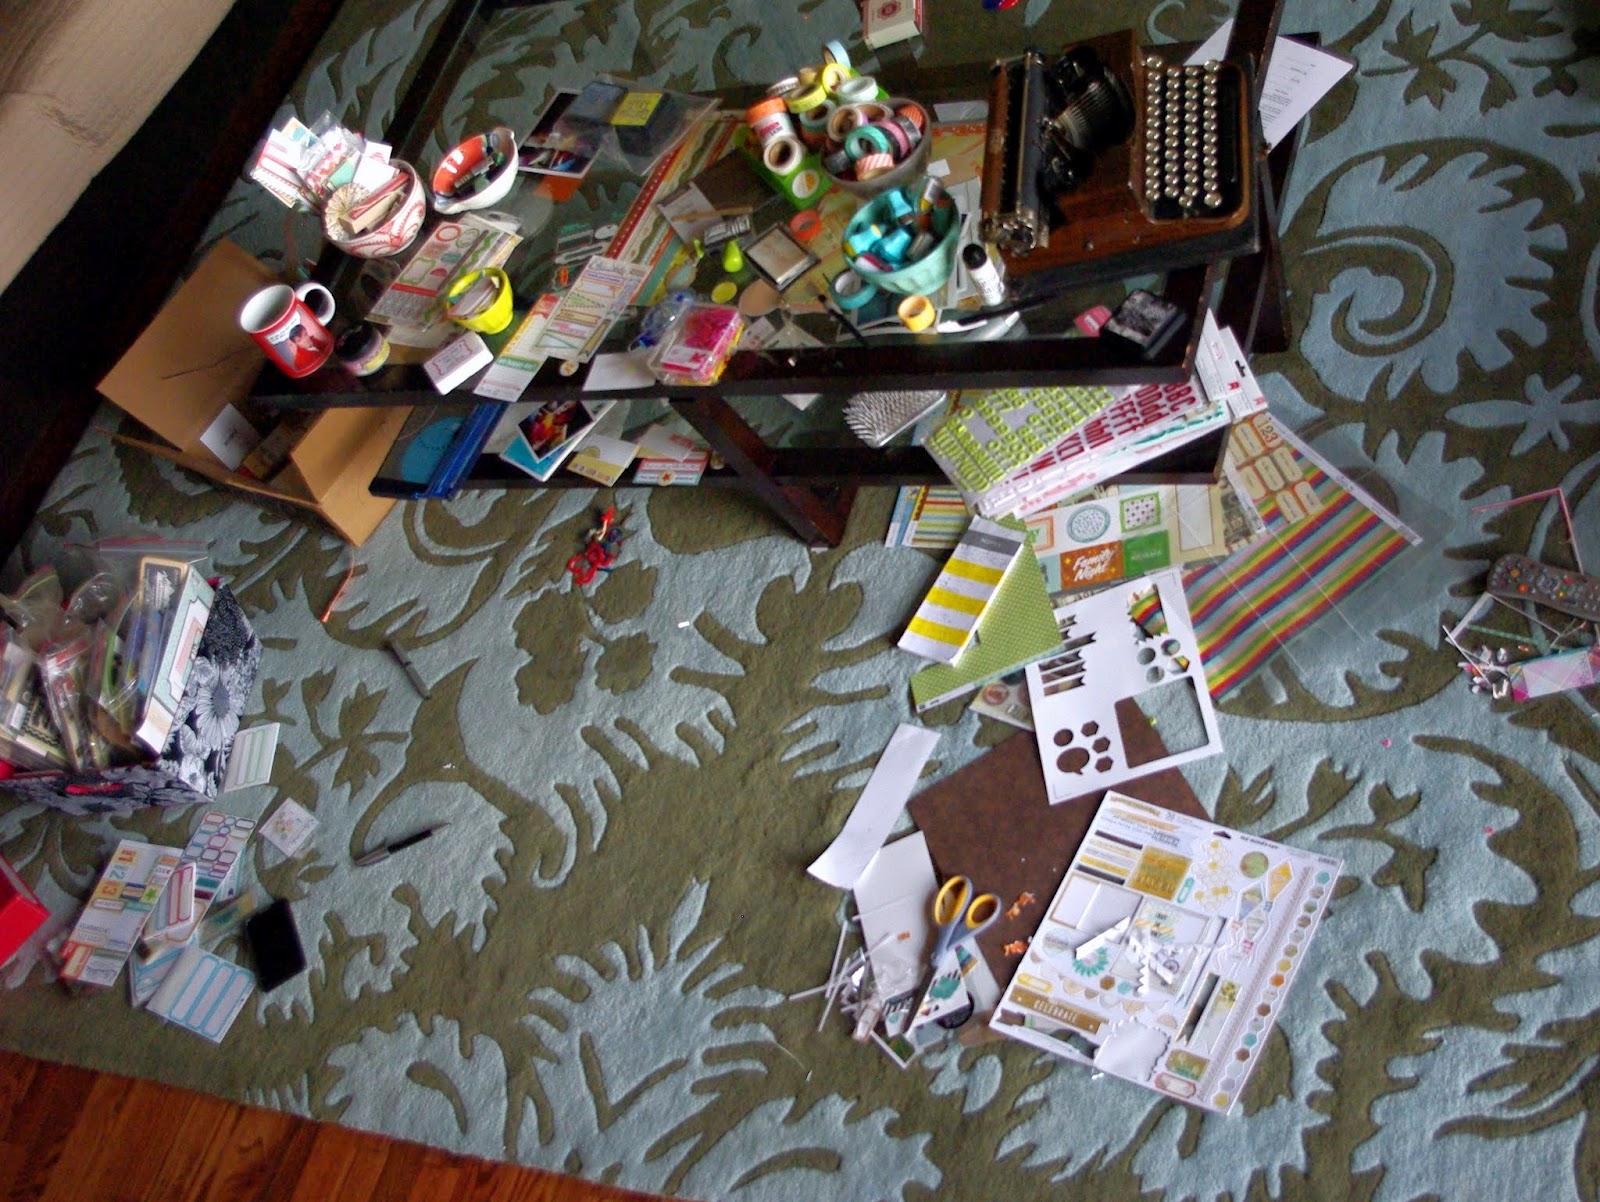
And, here is the scene after I finished everything up. Oh my. Note the cute new bowls from Anthro (on sale!) holding my tools and supplies. I have a bowl for pre-made journaling cards and die cuts too. Also, the precariously perched coffee in an Elvis mug. Luckily I am really good at speed cleaning and it only takes me about five minutes to put everything away.
Hope I inspired you a little to keep working on your project life albums. You can use these techniques for cards as journaling spots for layouts as well. If you noticed, I don’t do a title card with the date and the week number. This way I can jump in whenever I have time without worrying about missed weeks. Let me know if you have any questions please! How is your project life going?

Digital Scrapbooking, crafting, scrapbook, scrapbooking, crafting printables, printables, onestorydown, onestorydown store, scrapbooking


3 Responses to Project Life: Hybrid Style


OMG… this was a fabulous post. Thanks so much. I’m gonna have to try my Cameo for this. You rock!
You are my HERO!!! Niru, this is amazing!! Can I come live with you??? You certainly do rock!
PS: Which printer would you recommend?
I’m bookmarking this post! Great ideas! Can’t wait til the kids are asleep!